
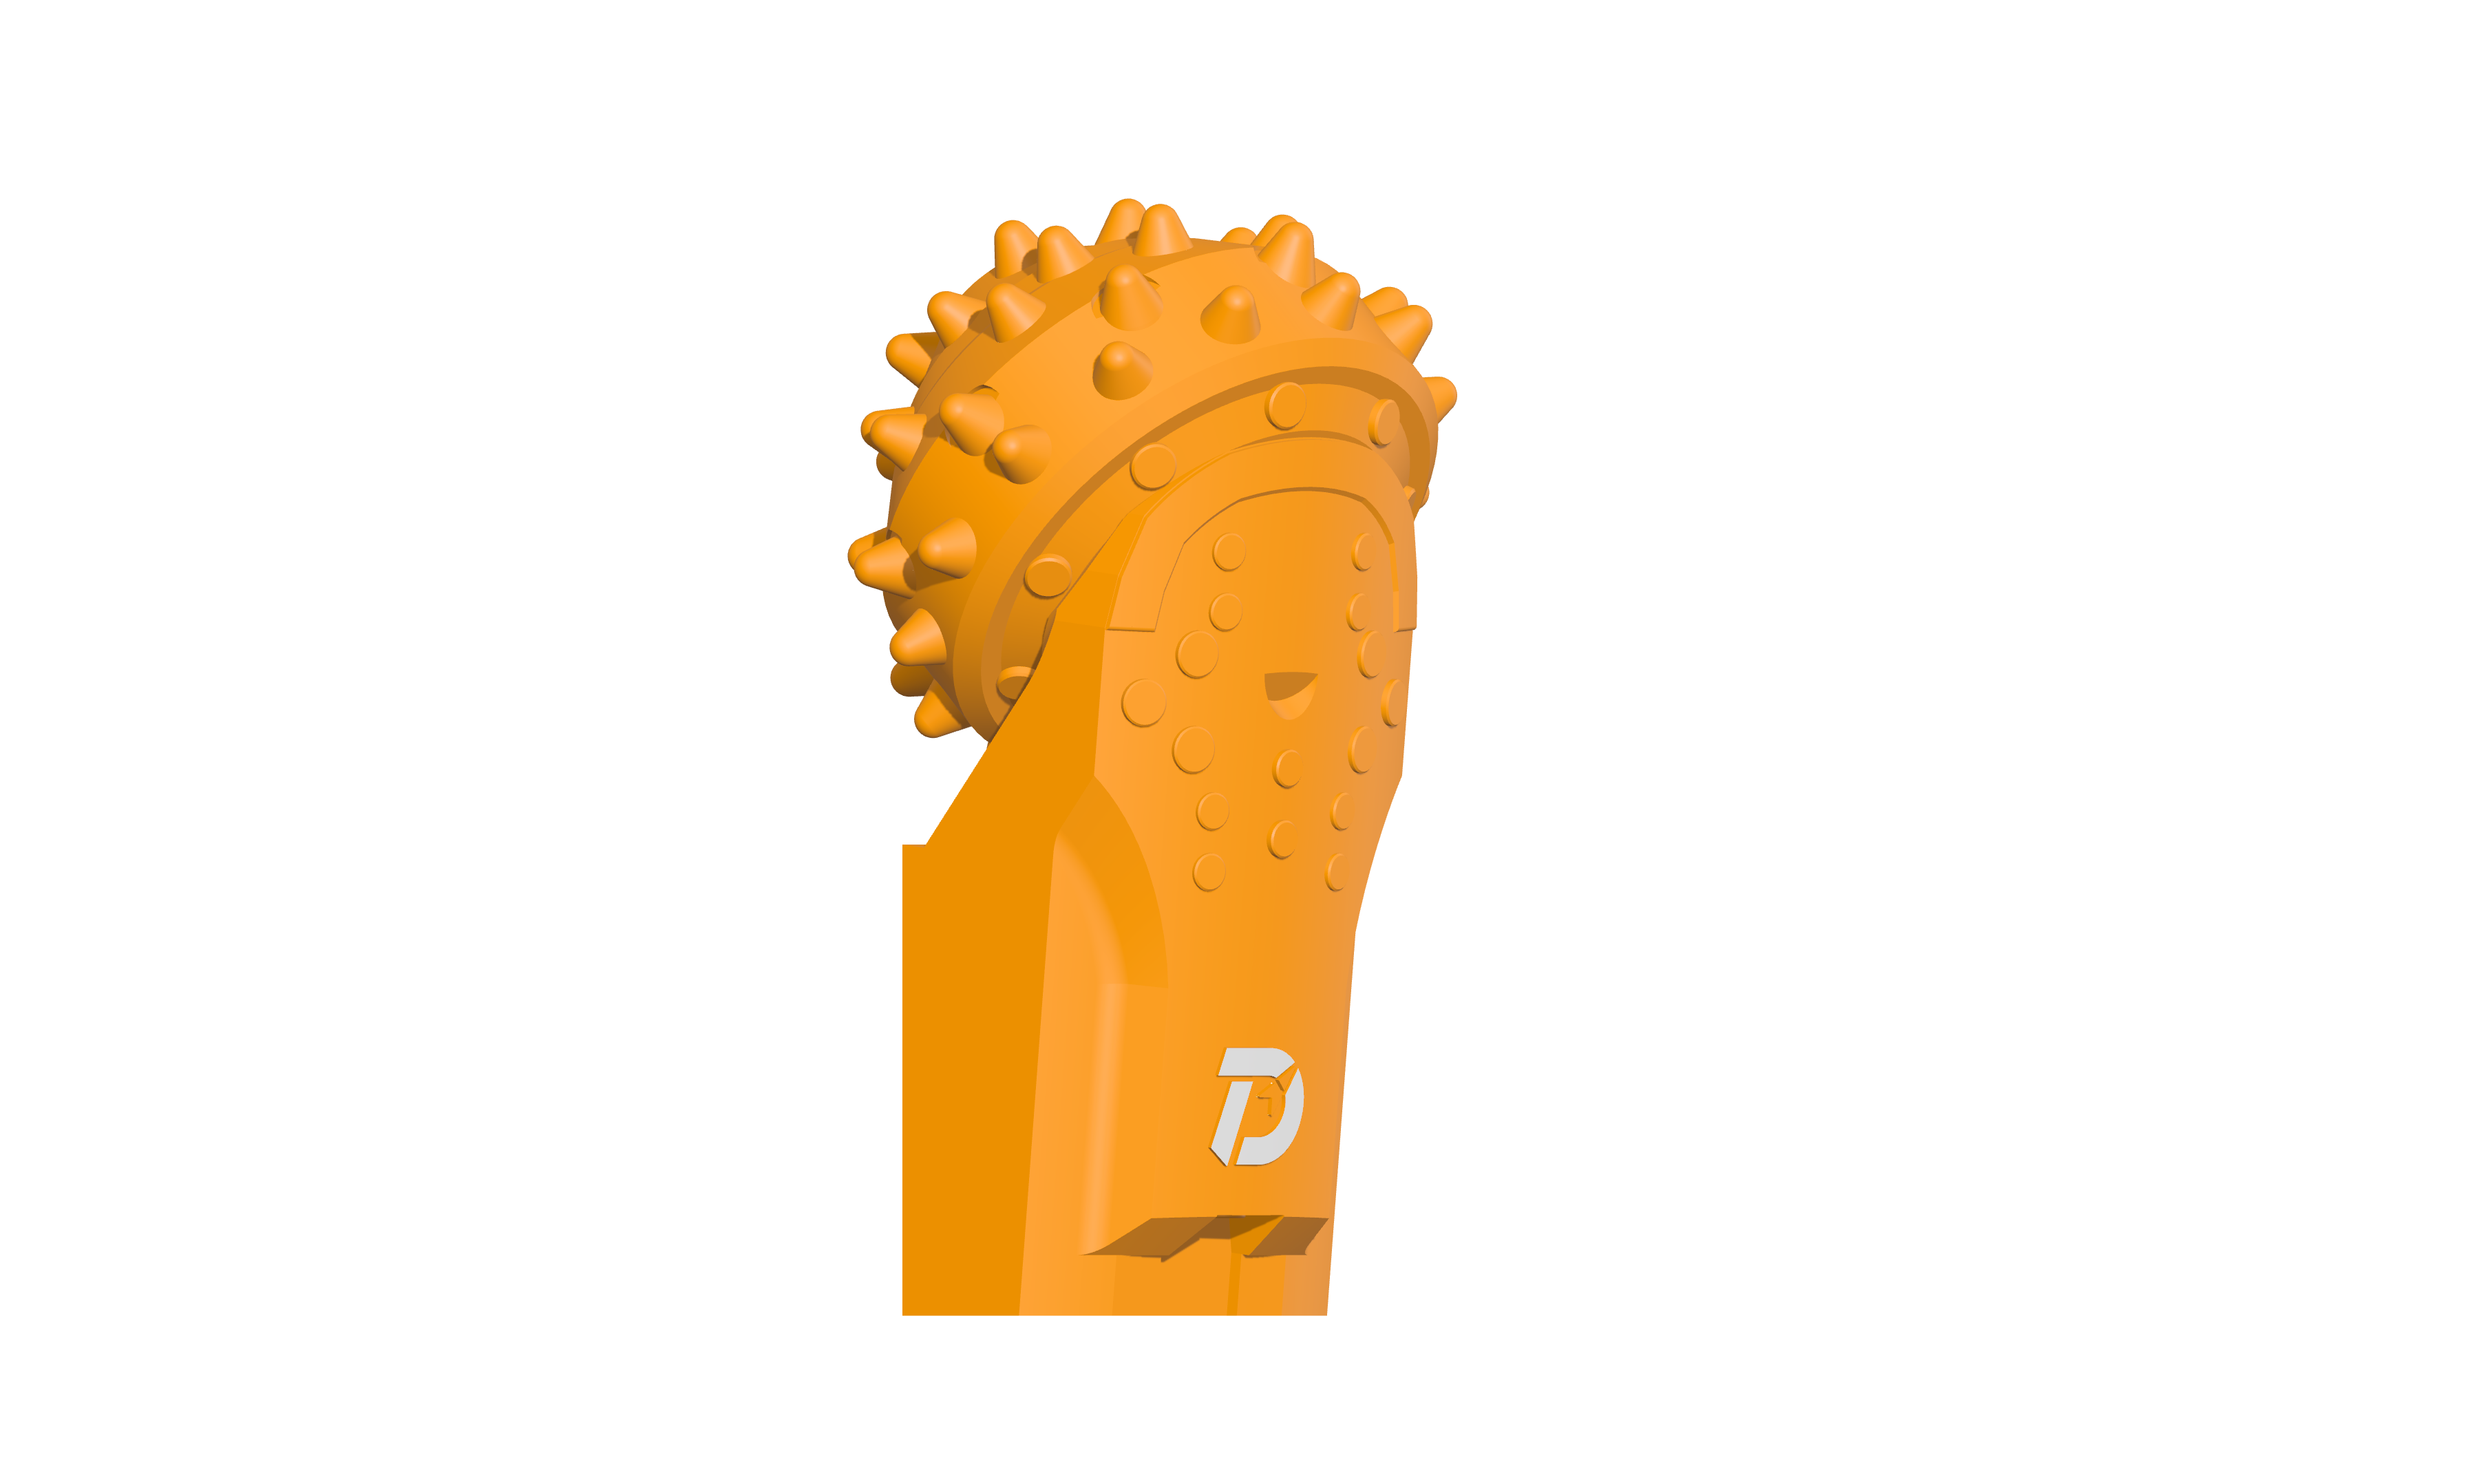
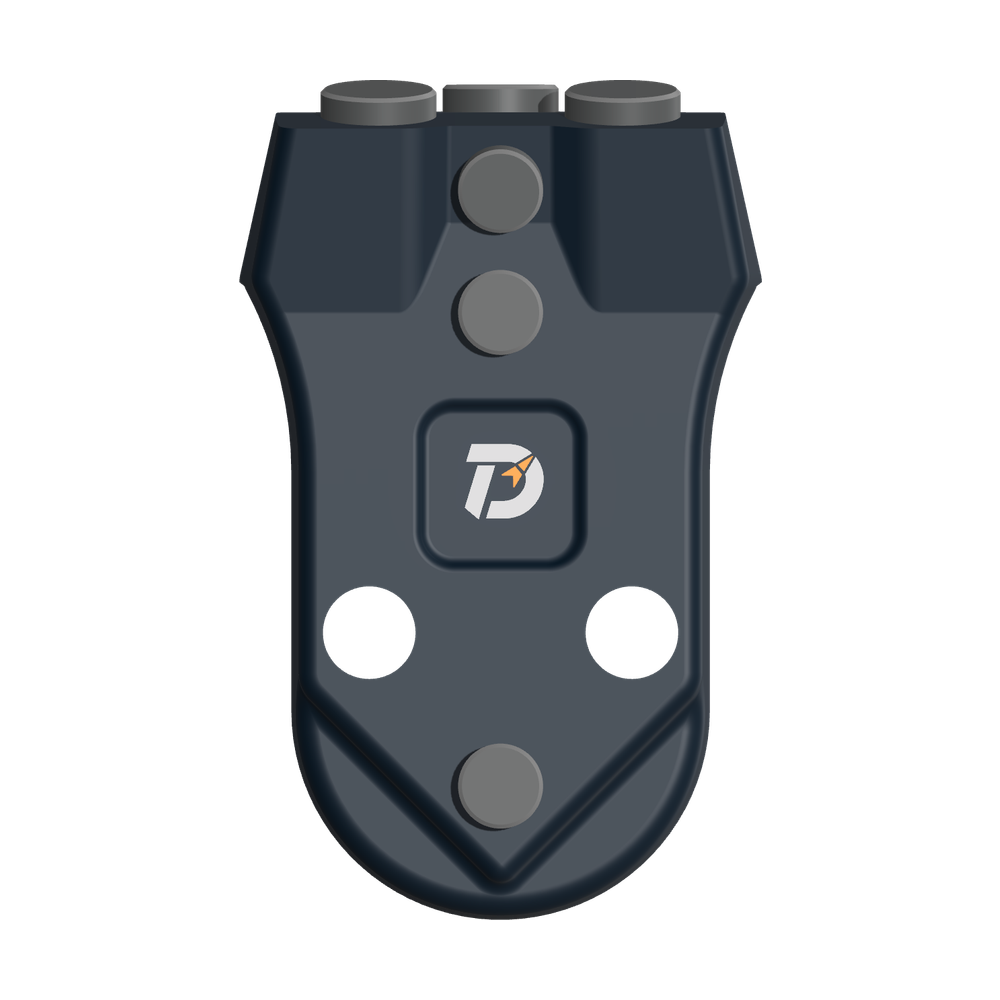
 WS39 casing tooth
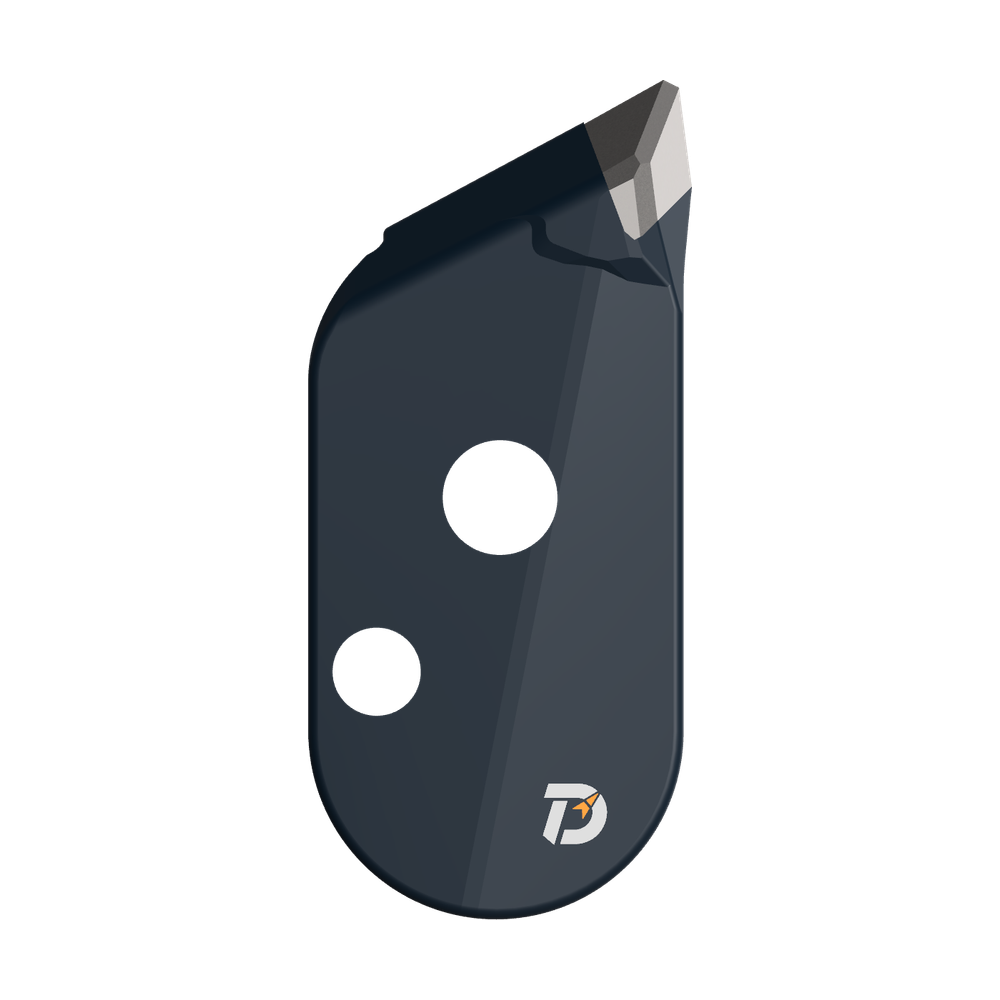 JM cutter tooth
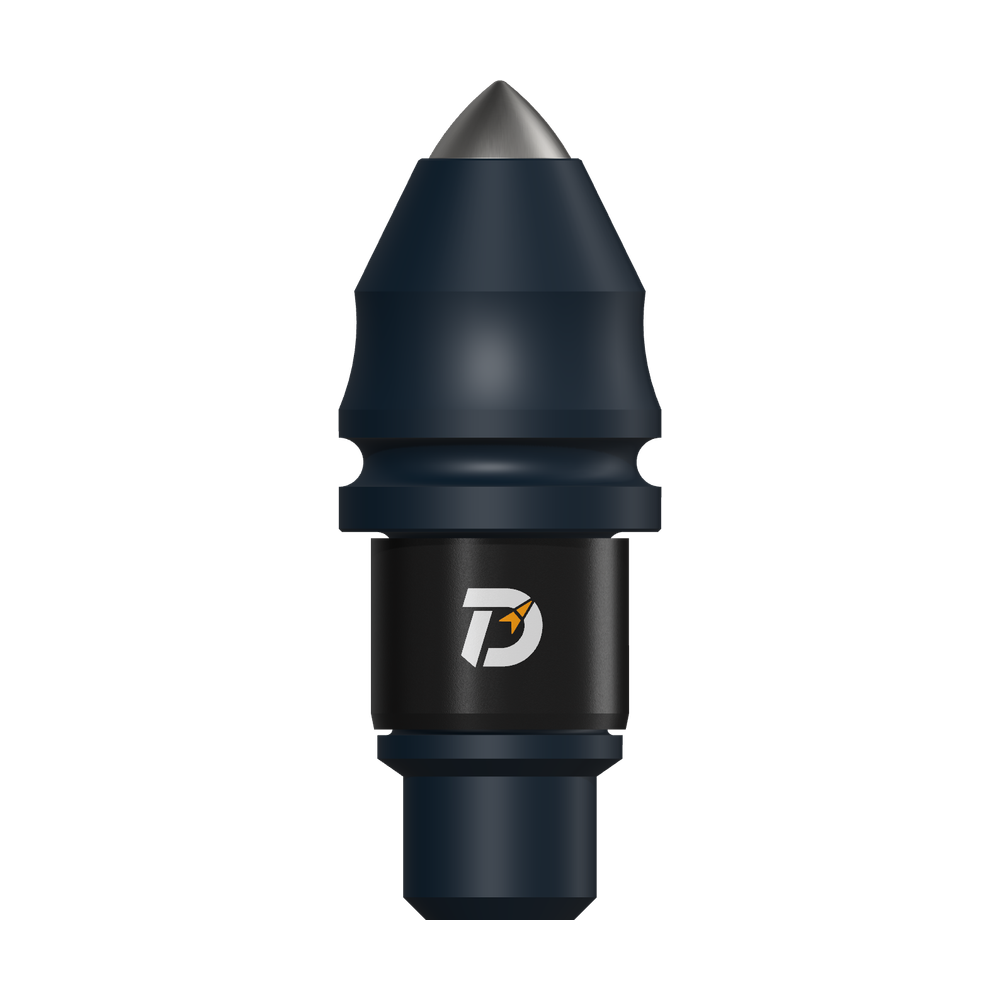 B47K22 bullet tooth
At each inspection, connect tooth and holder condition to a clear retain-or-replace decision before restarting. Number the positions and keep the photos with the drilling interval. The December 2023 record below shows why the inspection and the next action belong together.
Can each holder check be traced to a position?
Start with a full cutting-ring photo and numbered positions, then record tooth, holder and retention condition. Note each replacement time and the starting condition of the new part.
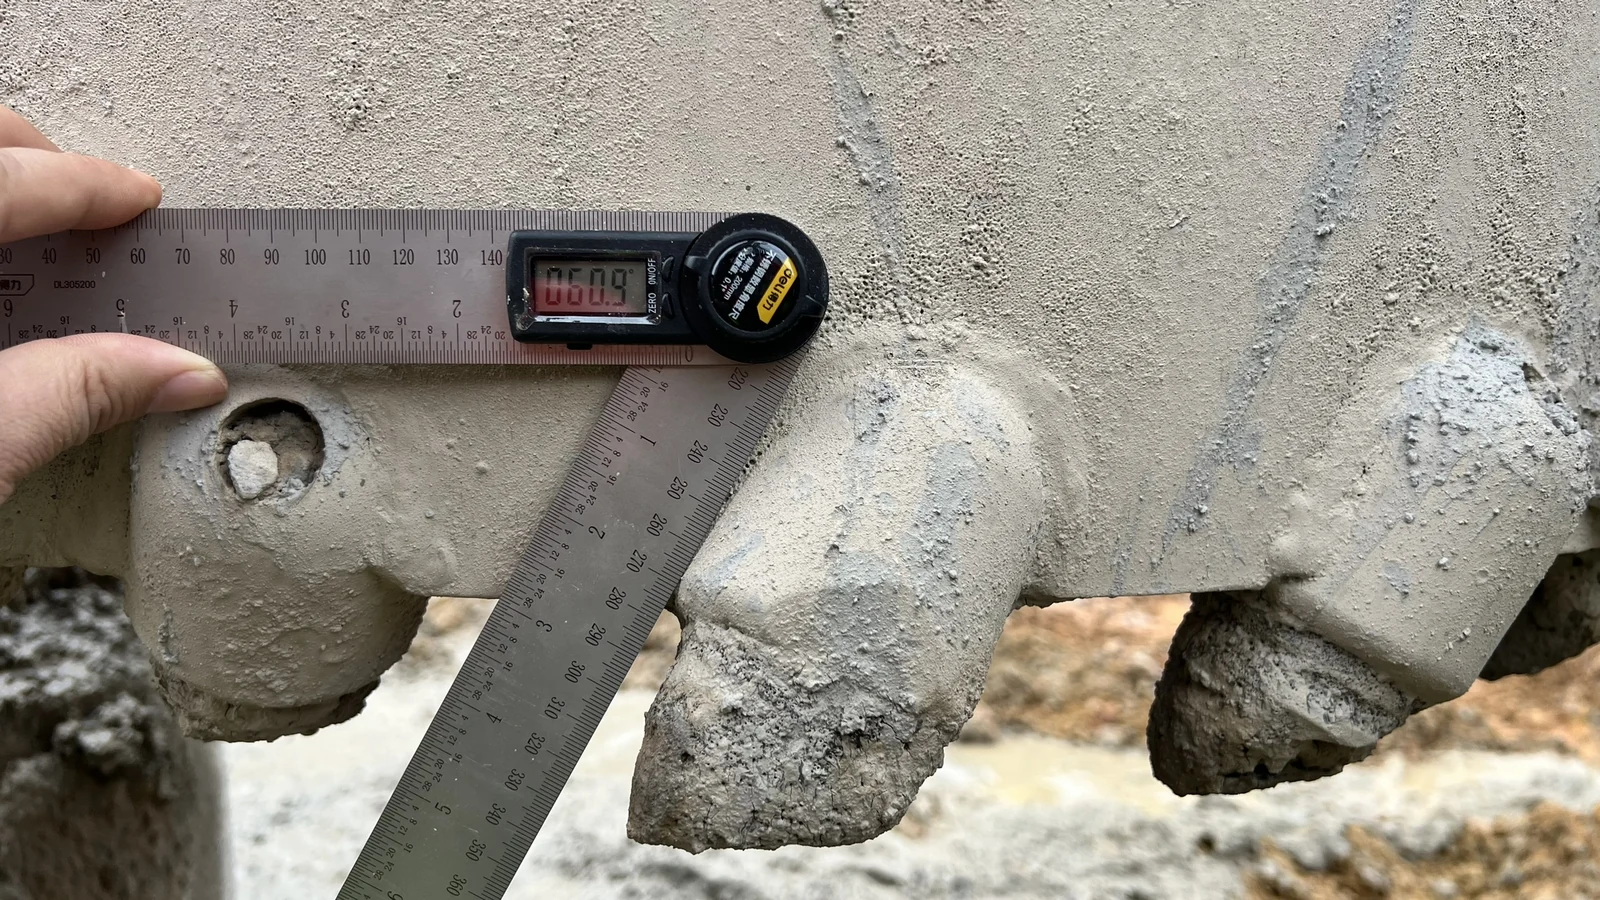
For an angle check, photograph the instrument and its reference surfaces. The observed setup belongs in the record; an angle photograph alone does not establish why uneven wear developed.
Are the recovered fragments linked to the drilling interval?
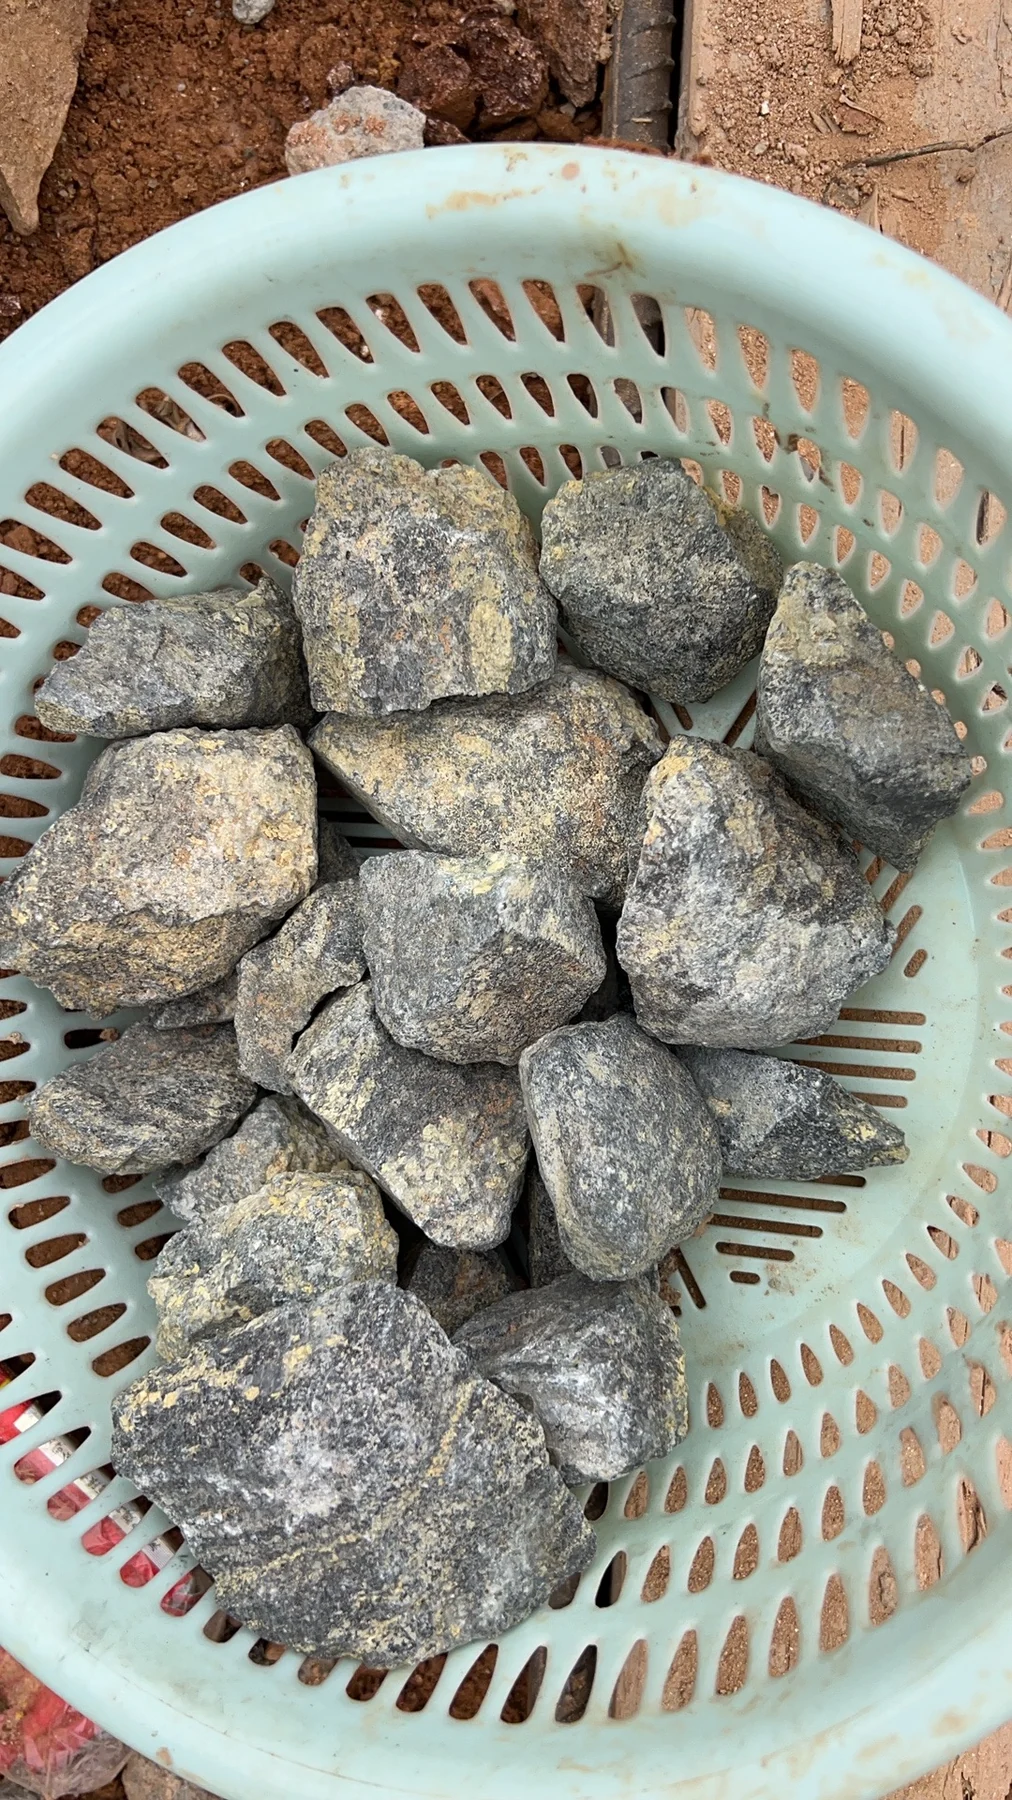
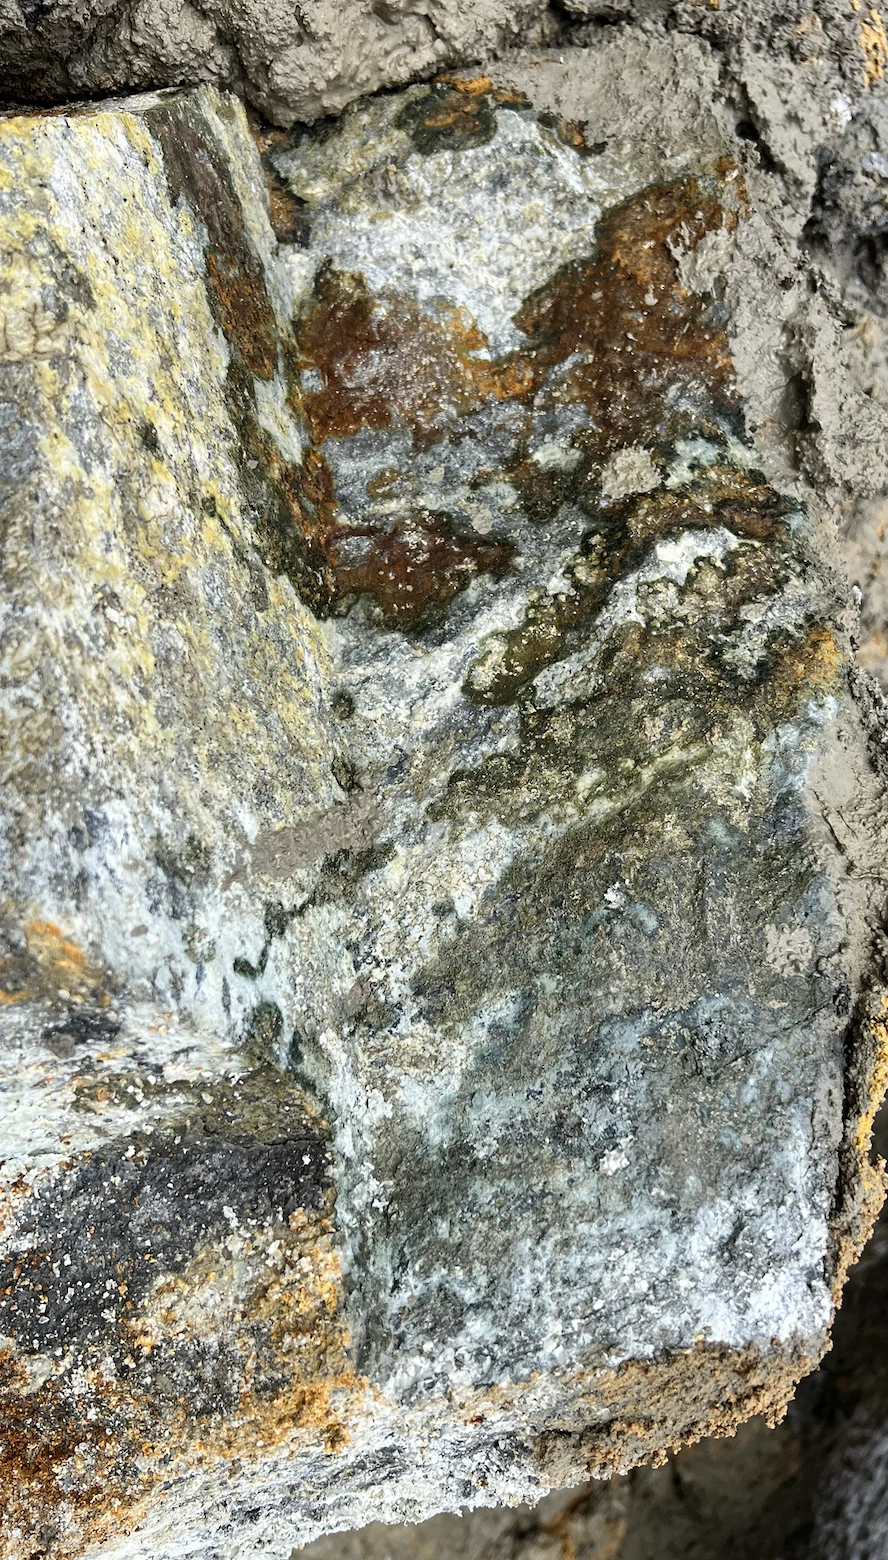
Keep collected fragments with a depth or interval reference and inspection time. Link any authorised test report to the identified sample rather than assigning a rock property from appearance.
Also record the active cutting interval, lifting and cleaning interruptions, and any available operating settings. Mark missing values rather than estimating them from the final tooth condition.
Was the inspection followed by a recorded decision?
Record whether each affected tooth was retained, replaced or held for review, and why. The historical log records continued drilling after teeth were described as too worn, followed by flattened teeth and holder-edge wear.
Agree inspection and replacement checkpoints for the next trial, then keep the decision at every checkpoint. This makes the sequence reviewable without attributing all later wear to the tooth design.
Link each inspection to a retain-or-replace decision
| Time | Documented condition / action | Useful checkpoint for the next trial |
|---|---|---|
| Around 08:00 | Fourteen replacement teeth were fitted and drilling started. | Number the changed positions and photograph both teeth and holder edges before the first run. |
| 09:19 | The tool was lifted; several teeth were described as too worn to keep using. They were not replaced and drilling continued. | Make the retain/replace decision at the inspection. Where the replacement criterion is reached, inspect the holder and change the tooth before resuming. |
| 10:11 | The next recorded lift showed flattened teeth and wear on some holder edges. | Examine holder condition before fitting fresh teeth; keep the tooth and holder findings linked to the same position. |
Elapsed time between the two inspections: 10:11 − 09:19 = 52 minutes.
This is clock time between inspections, not verified active cutting time. The log does not separate all lifting, cleaning and other interruptions within it.
- Before drilling: document new/worn positions, holder condition and the agreed replacement signs.
- At each planned lift and after a new abnormal vibration, damage or change in cutting behaviour: inspect the numbered teeth and the exposed holder edges.
- Before restarting: record the decision and any actual replacement. If a tooth is retained, state the remaining condition against the agreed criterion rather than leaving the decision blank.
The sequence shows why each inspection needs a recorded retain-or-replace decision. It does not isolate tooth material, holder angle, geology or operating technique as the sole cause of the later damage.