
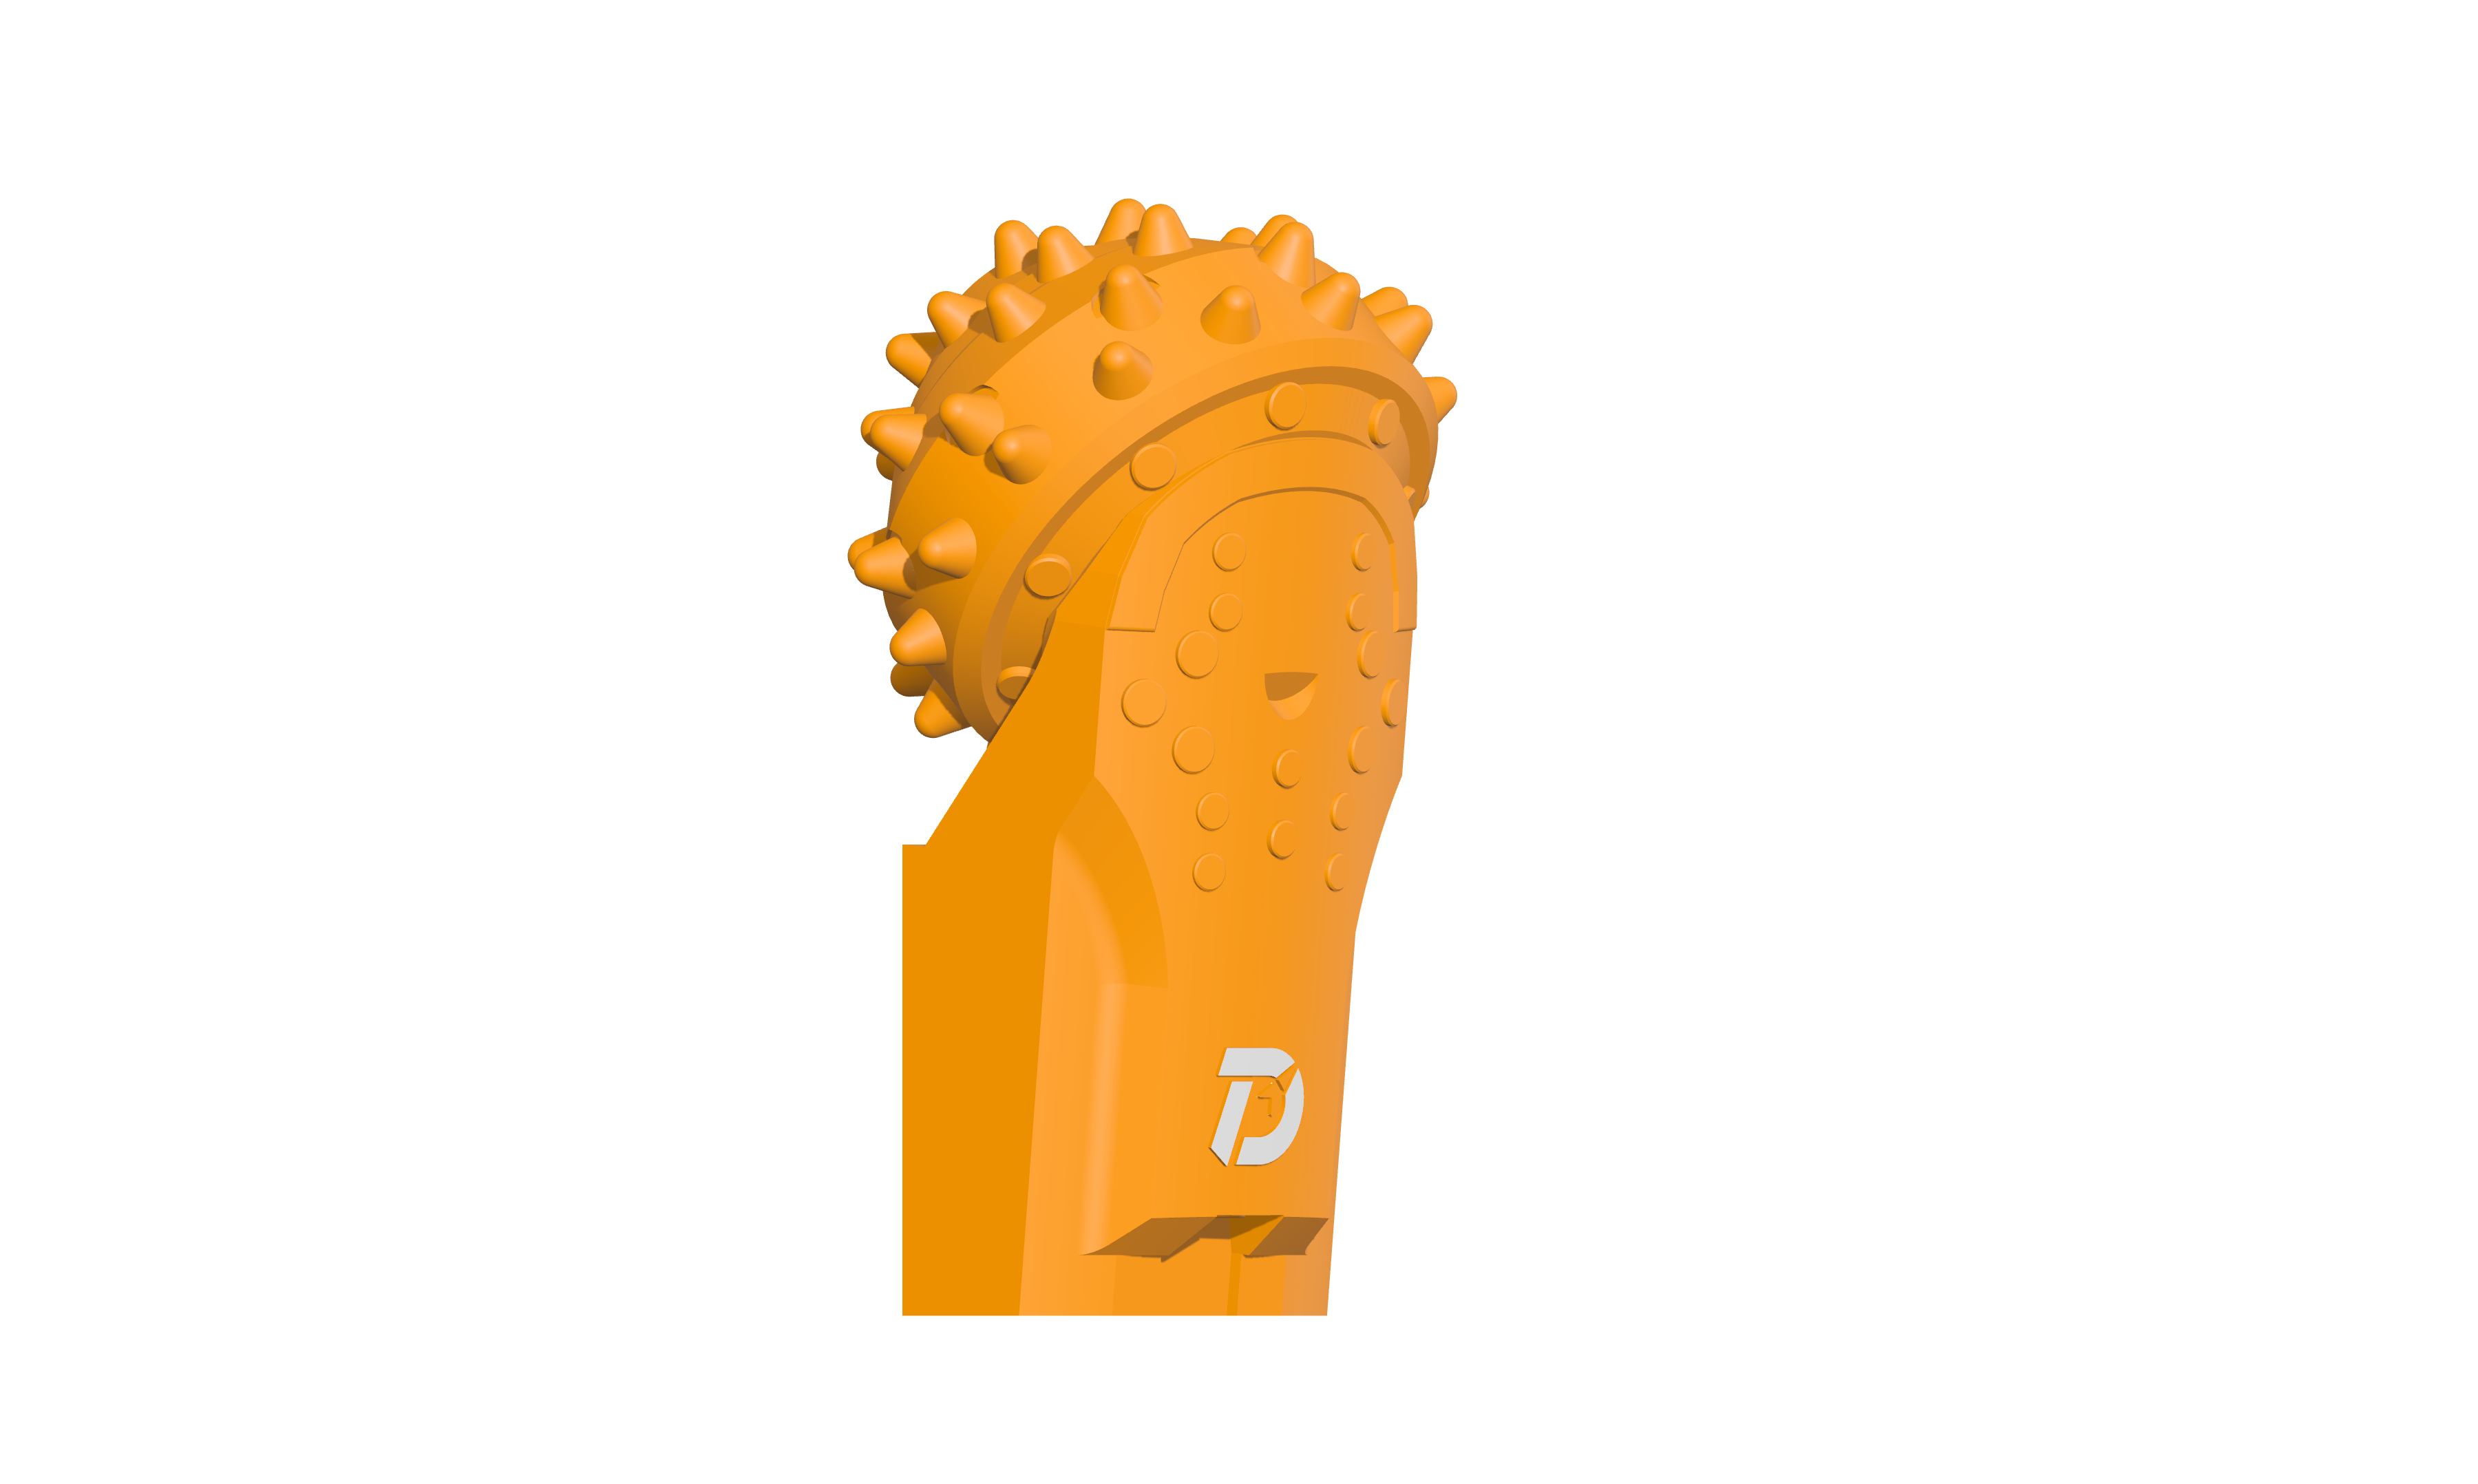
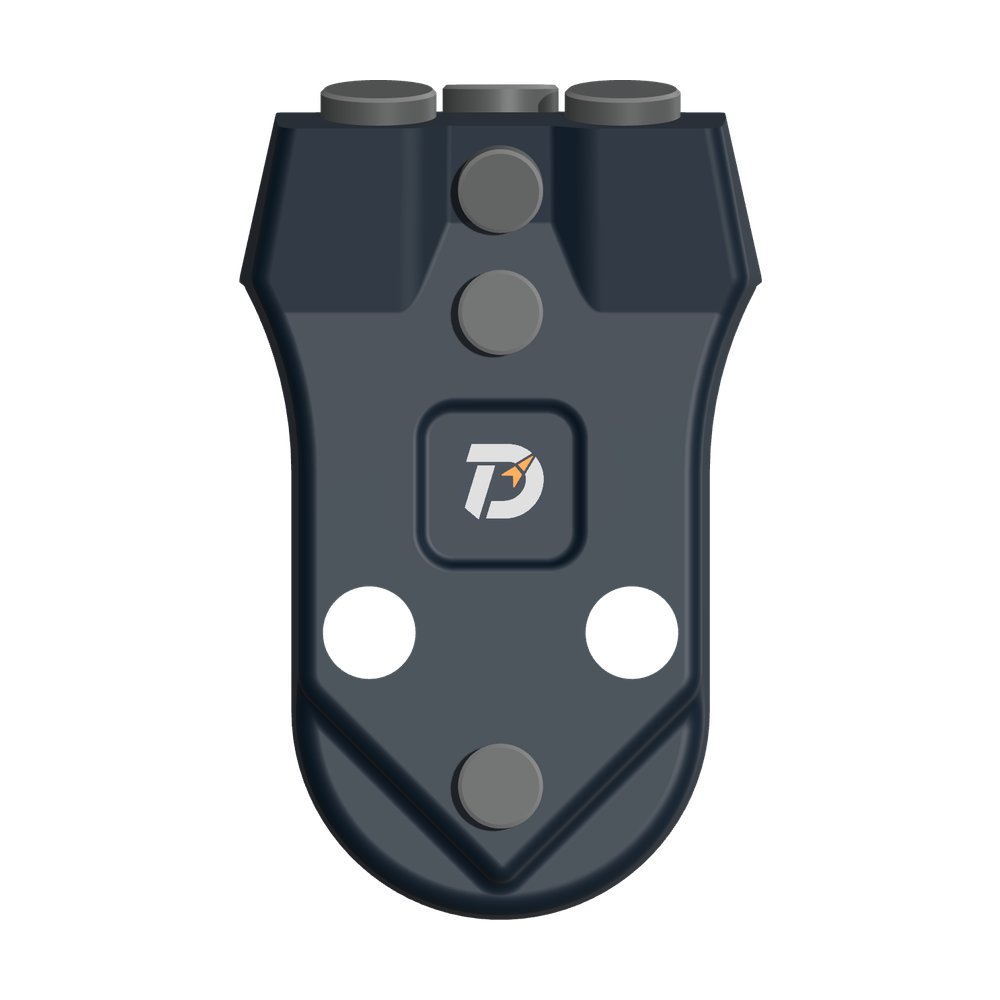
 WS39 casing tooth
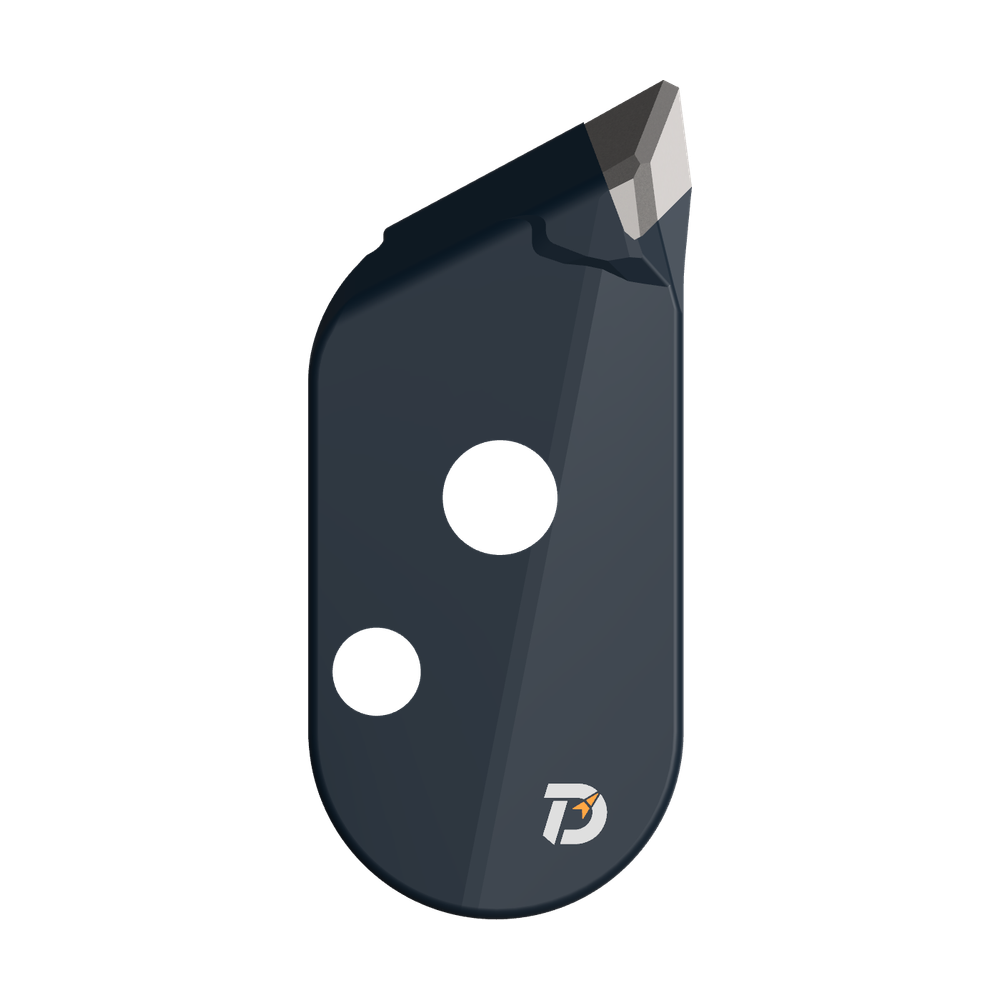 JM cutter tooth
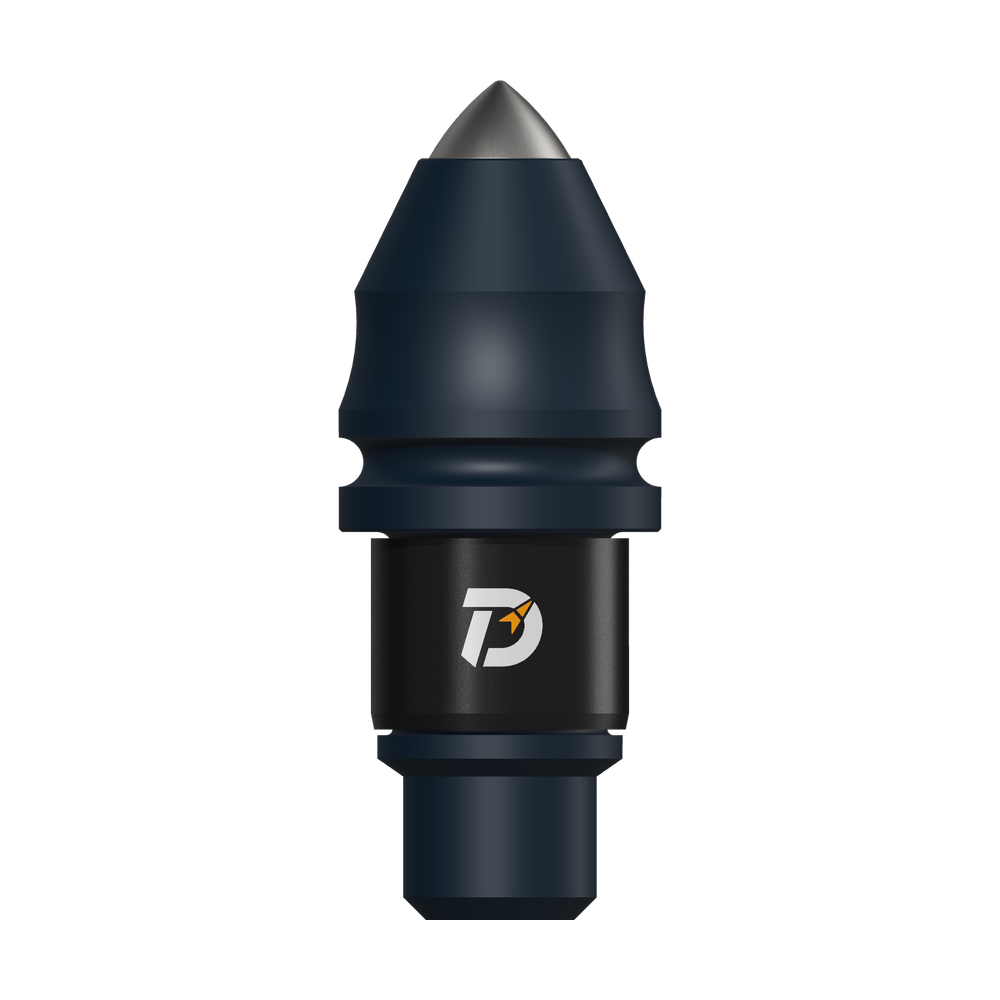 B47K22 bullet tooth
When a round-shank trench cutter tooth is found stuck, inspect the holder bore before fitting another tooth. Look beyond the opening: the internal contact surfaces, changes in bore diameter and the matching tooth shank need to be assessed together.
The tooth is only one half of the fit
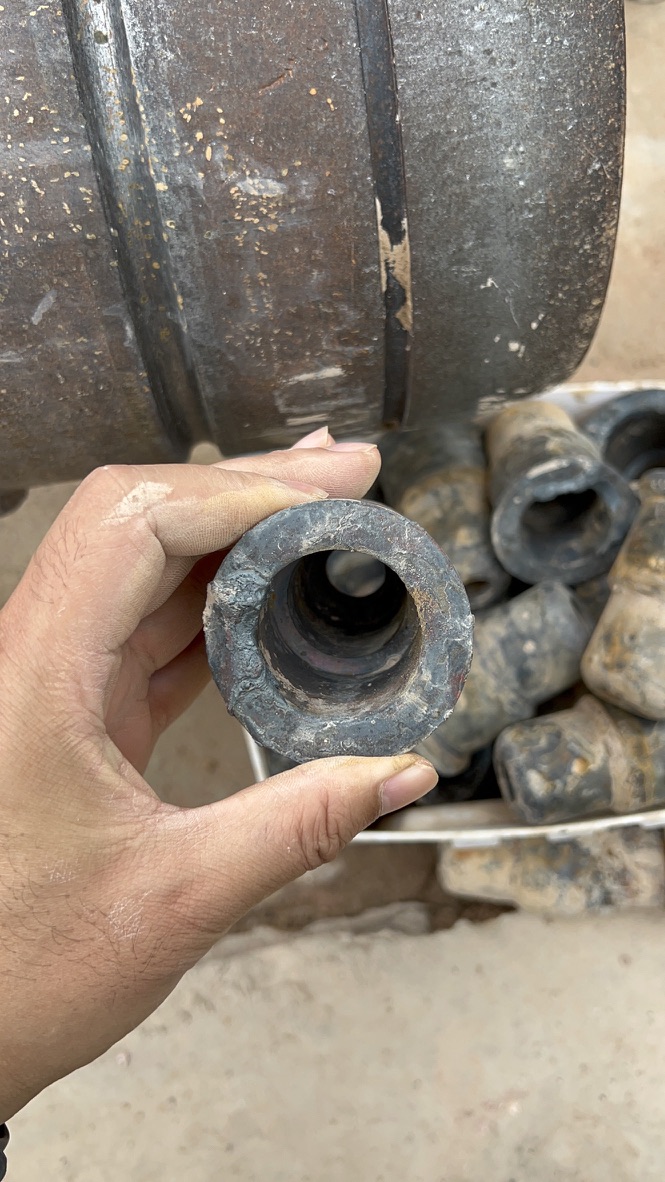
In a historical site record, the inspector noted individual teeth that had seized and severe wear with grooves near the bottom of the holder. The same section of the record identifies the ground as gneiss. It then shows removed holders and specimens cut open for closer examination.
The practical question is specific: what condition will the new tooth shank meet inside this holder? A replacement tooth changes the tooth; it does not restore a worn holder surface.
In the photograph, the opening gives a view into a stepped bore, but shadows limit the view deeper inside. Keep the removed tooth with its holder when investigating the fit, so marks on the two parts can be compared.
Identify the surface before comparing a shank diameter
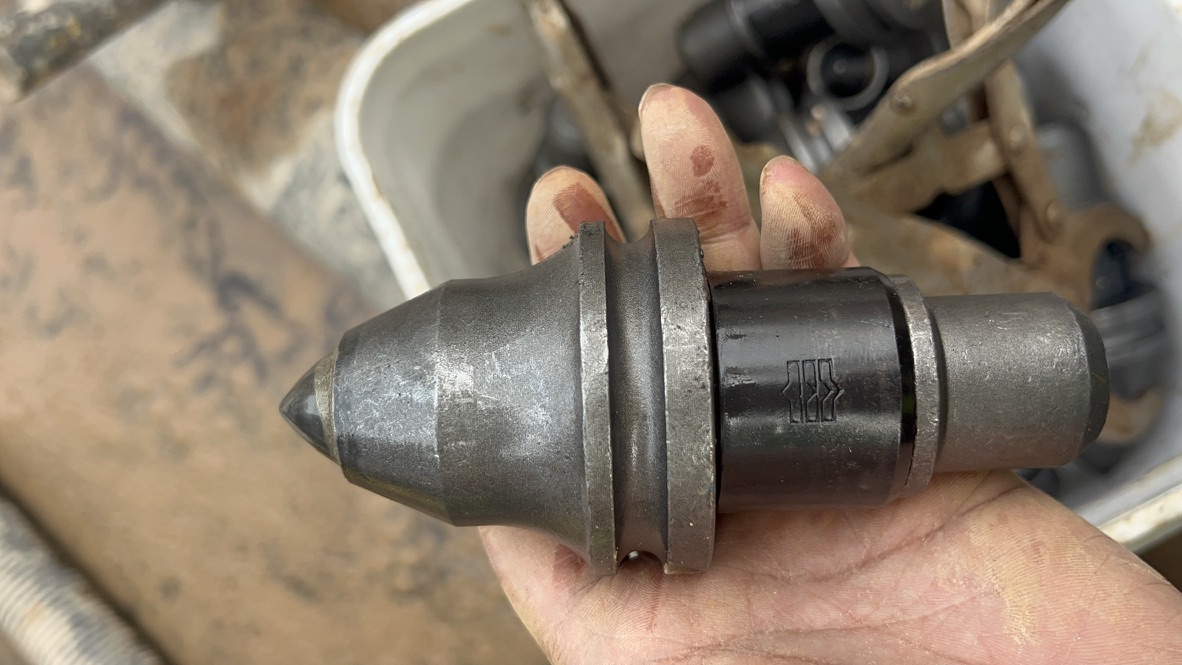
In this original side view, a black sleeve covers part of the tooth shank. The exposed metal end, the sleeve’s outside surface and the shoulder-and-groove region ahead of it are different features. A reading taken across the sleeve is not a measurement of the bare shank.
For a replacement enquiry, mark the measured feature on a side-view photograph or drawing and state whether the sleeve was in place. For a length measurement, mark both end points. This lets the supplier compare the proposed replacement at the same locations, rather than assume that one “shank diameter” describes the complete interface.
This photograph helps identify those features; the record does not identify it as the matching tooth for the holder specimens shown here.
What the cut-open holder makes visible
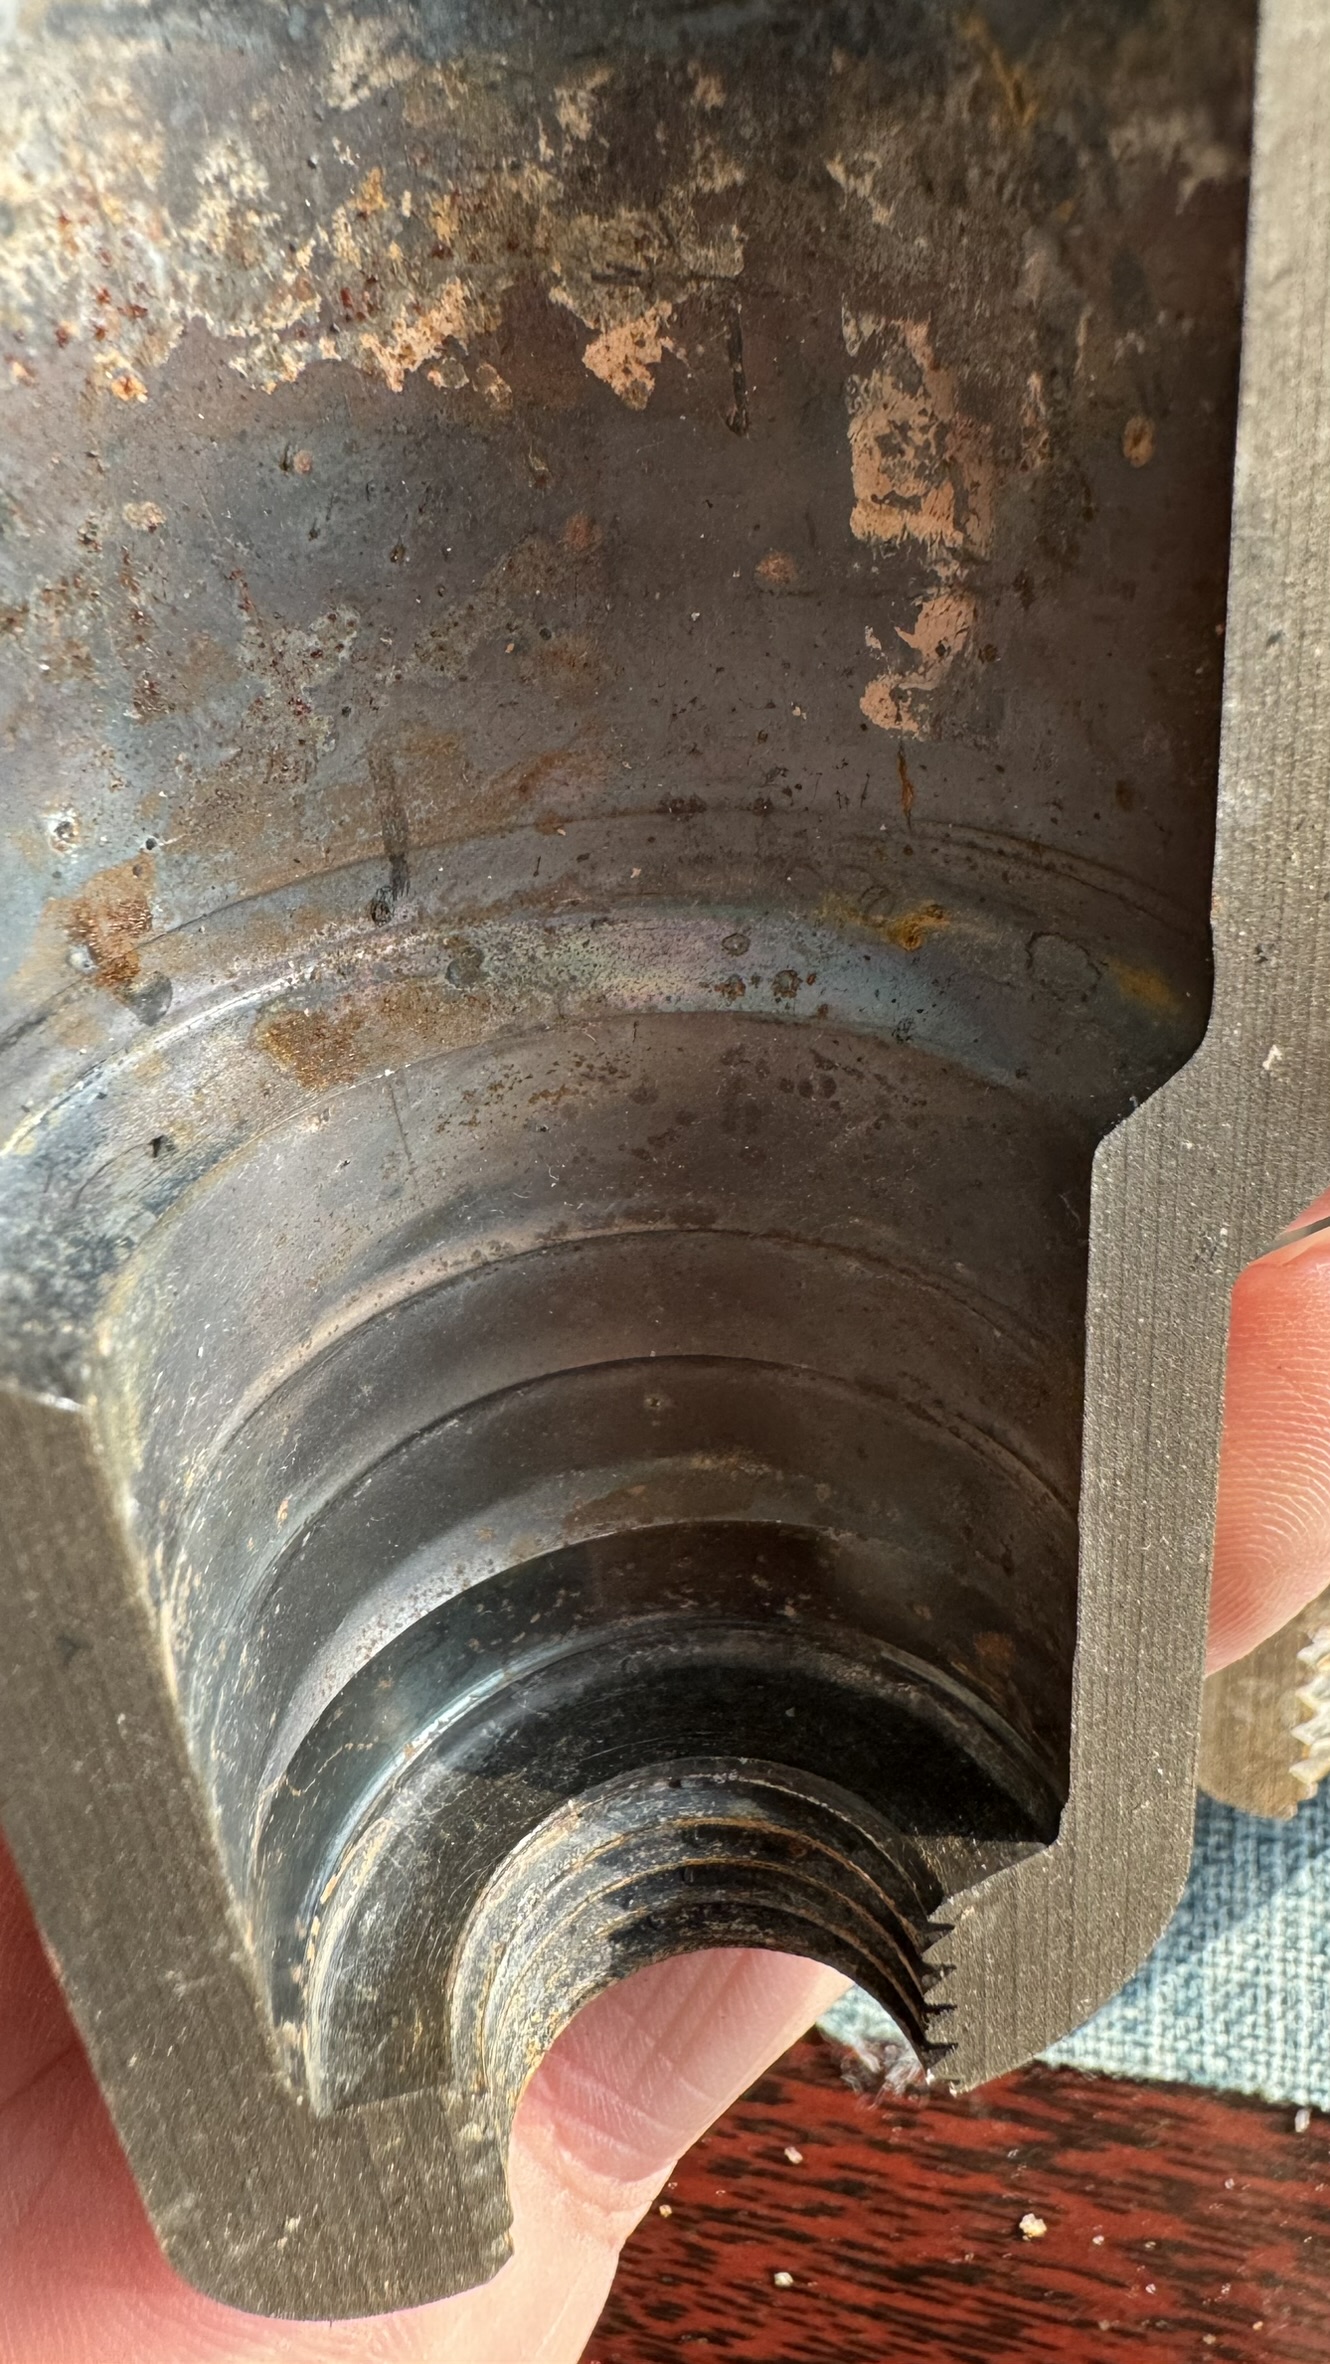
The section photograph exposes the bore along its length. You can see a larger upper bore, changes in diameter, circumferential bands and a threaded region at the lower end. These are separate features to identify when reviewing the part.
A visible ring is not automatically a wear groove. Compare the same location with an unused holder of the same reference or its drawing. Designed steps, threads and reliefs must be distinguished from material lost during use.
The original inspector questioned whether the grooves could be related to the stuck teeth and whether internal heat treatment needed investigation. Those were questions for follow-up. The photographs do not establish hardness, the order in which damage developed or a confirmed cause.
Three areas to compare before deciding on reuse
Inspect the removed parts using the machine’s isolation and maintenance procedure. The checks below are a follow-up method, not measurements already completed in this historical record.
| Area | Compare | Decision supported |
|---|---|---|
| Opening and seating face | Cleaned edge and seating surface against the tooth’s corresponding shoulder and the specified assembly. | If burrs, damage or trapped material prevent the specified seating, resolve that condition before treating the new tooth as ready to work. |
| Internal bore and diameter transitions | The location of any groove or raised edge with marks on the shank and the same feature on an unused matching holder or drawing. | Measure suspect contact areas at the specified positions. Use the part’s fit and wear limits to decide whether the holder can be reused or needs replacement. |
| Threaded and retaining features | The actual attachment and retention arrangement, including damaged threads or displaced parts. Confirm each feature’s function from the assembly drawing. | Verify seating, retention and intended movement as separate checks. A tooth entering the bore does not by itself establish a correct assembly. |
Choose the next test to match the question
Is the fit still acceptable? Use dimensional checks of the identified tooth and holder against the applicable drawing and wear limits. This record supplies no clearance or discard limit, so none should be inferred from the photographs.
Is the holder material or heat treatment involved? That needs an identified specimen, specified test locations and the applicable material and hardness requirements. A technical investigation may add section or material testing; surface colour and a ring-shaped mark cannot answer the question alone.
Sectioning is a workshop investigation of a removed specimen. The sectioned part is not reusable. These images do not show a completed repair or a verified improvement in tooth life.