
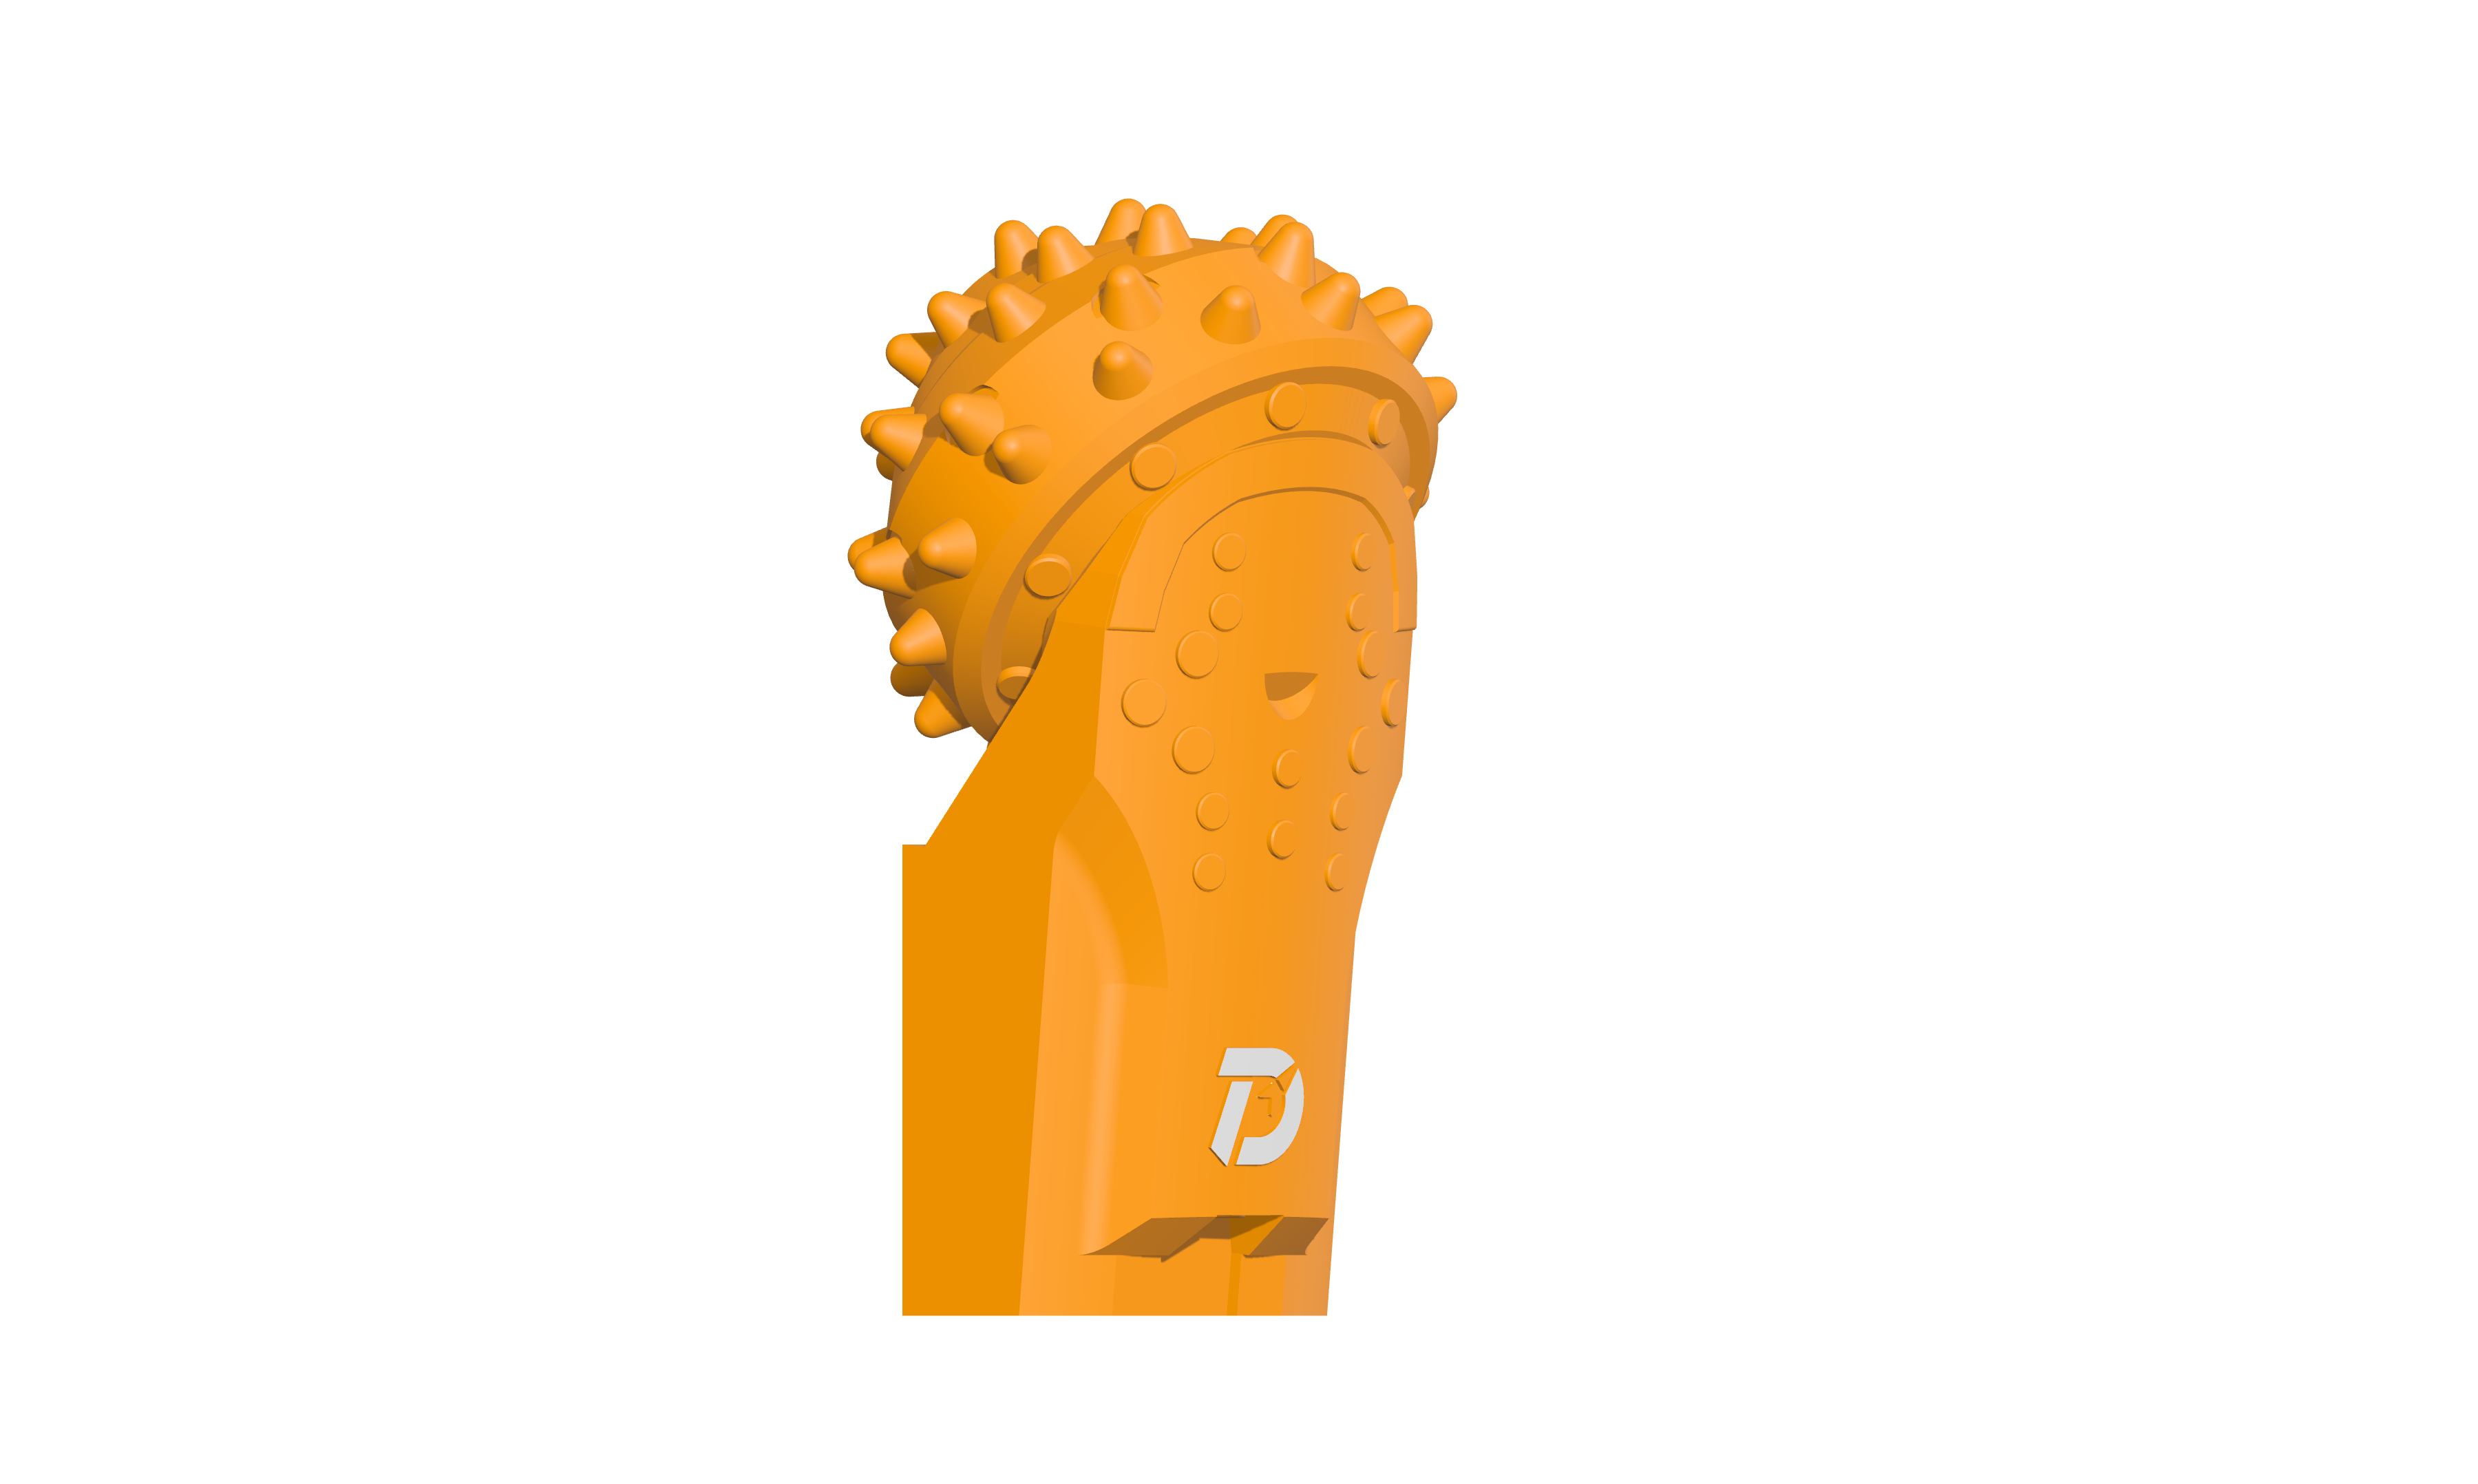
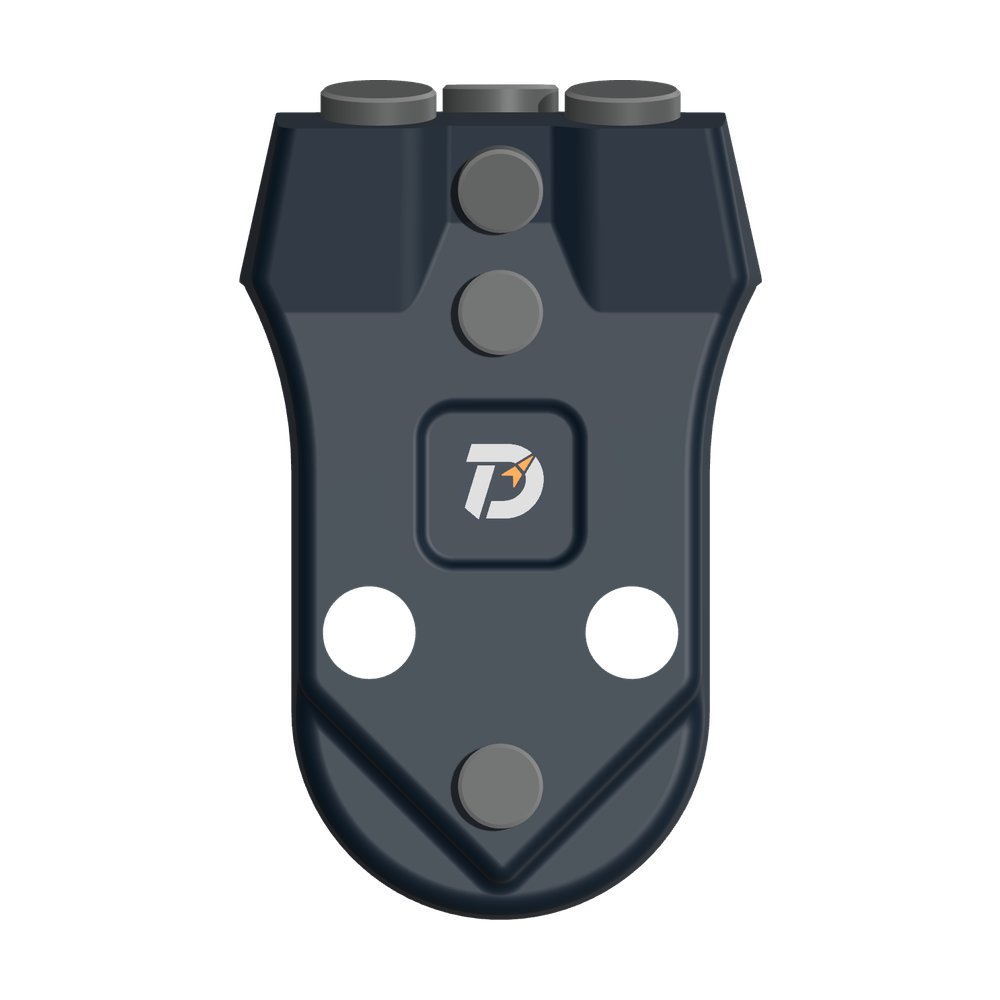
 WS39 casing tooth
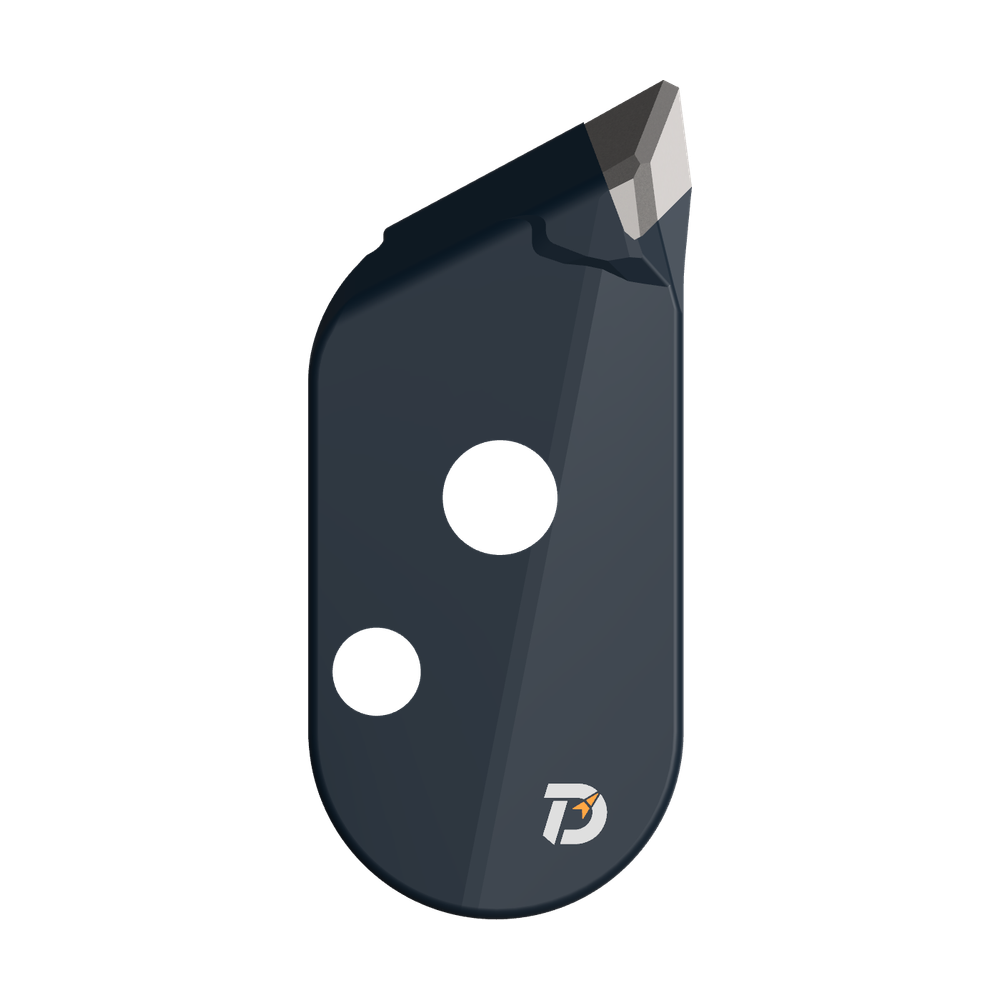 JM cutter tooth
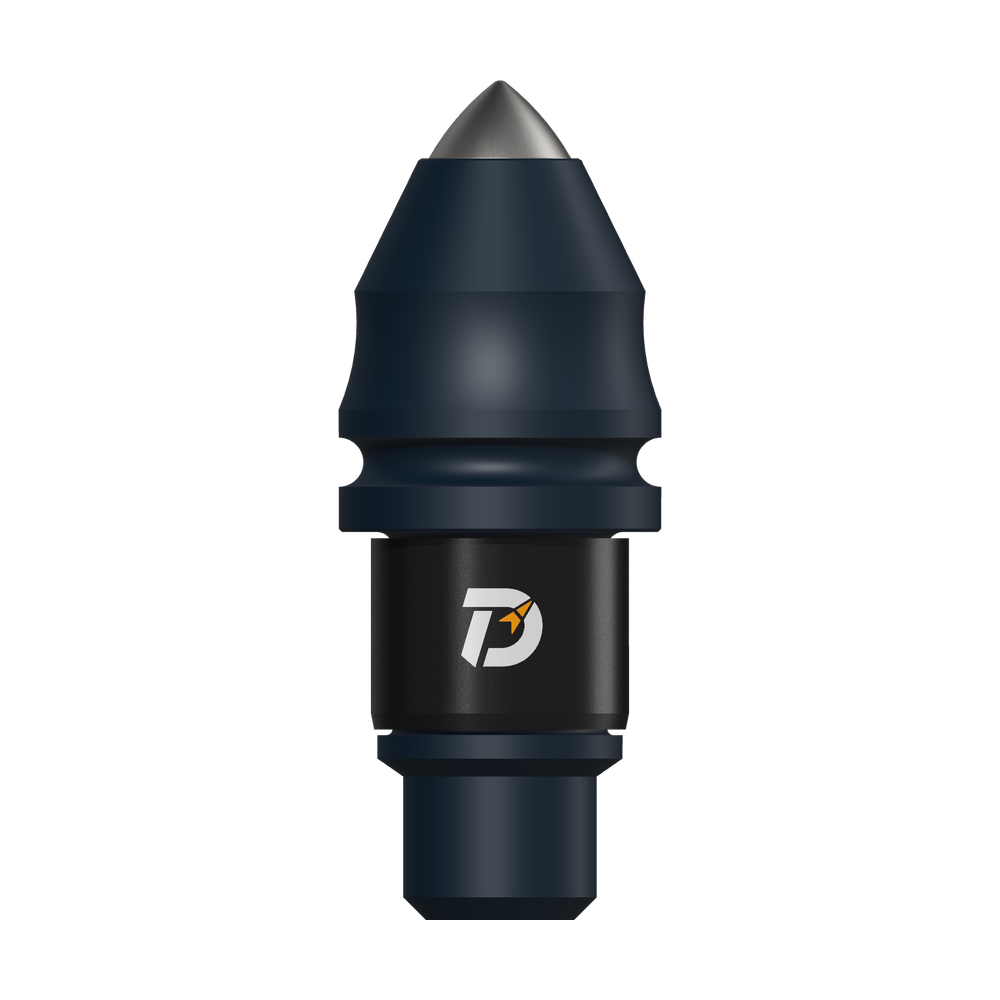 B47K22 bullet tooth
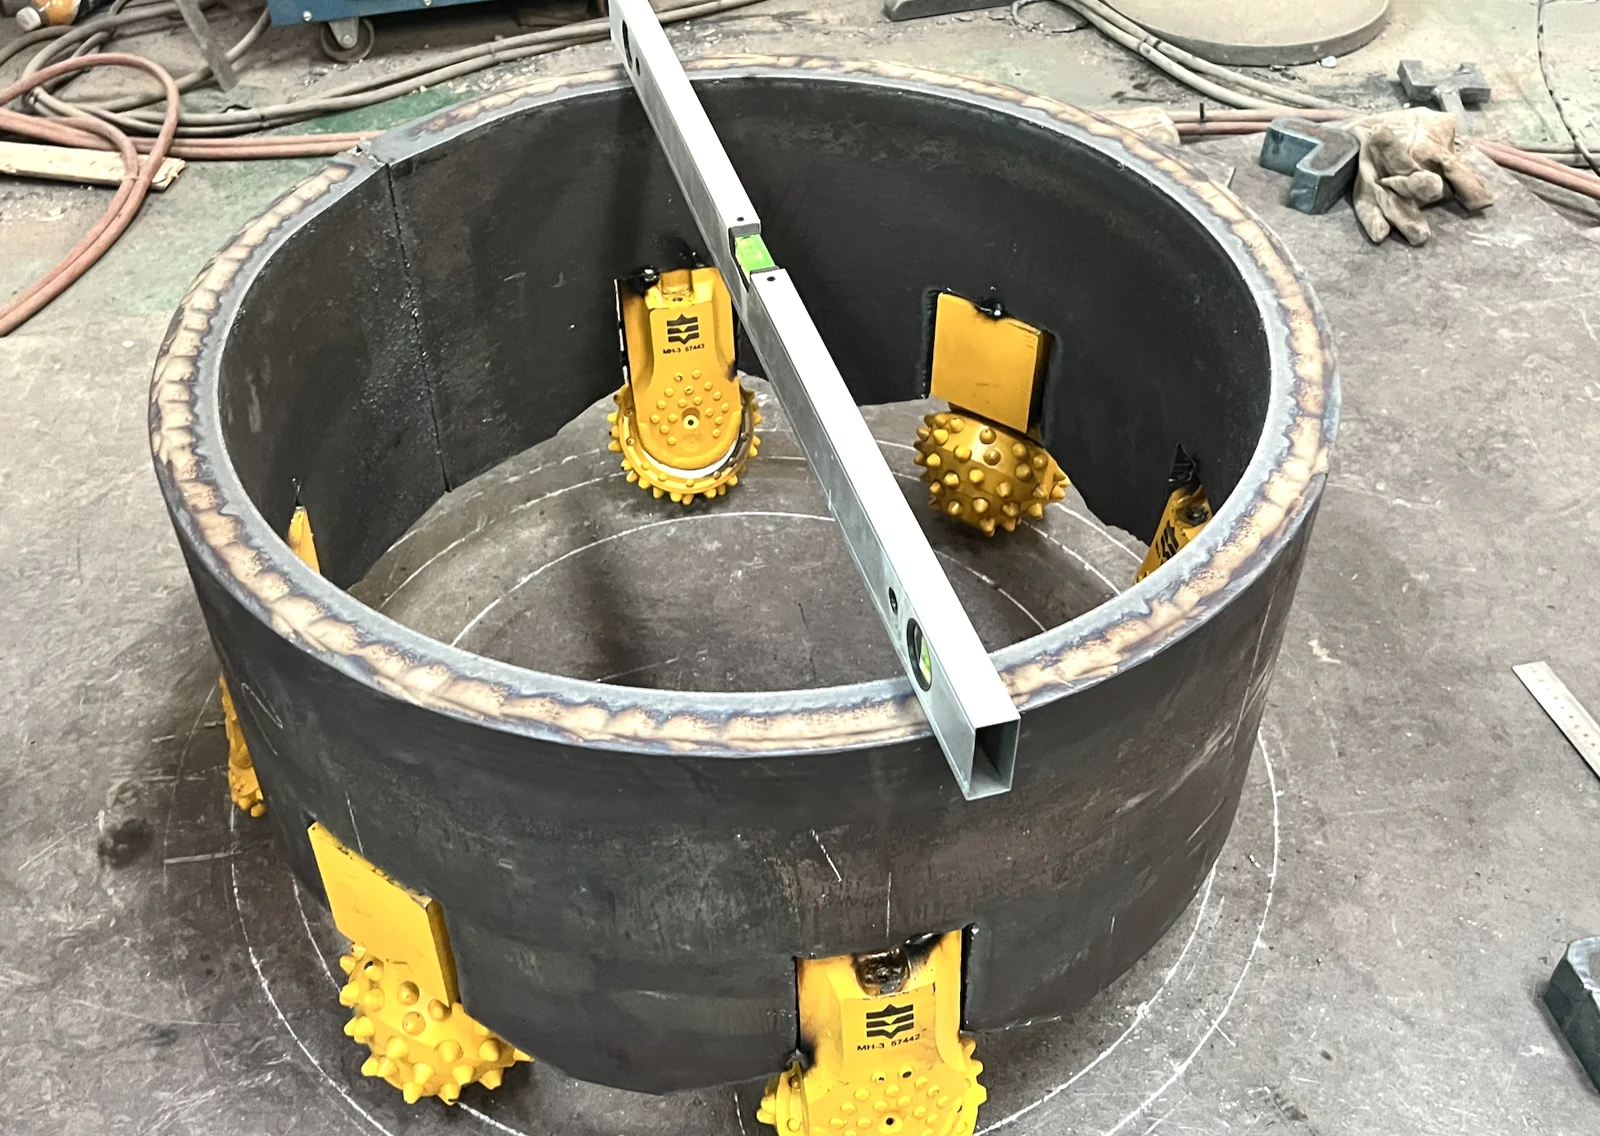
For roller-bit replacement, check the ring first, position and tack the complete cutter arrangement, then remeasure before full welding. Control heat and the welding current path to protect the assembled bearing and seal. Use the selected drawing and agreed welding procedure for the actual tool.
01
Decide whether the existing ring can still locate the cutters
Clean the cutting ring and inspect it before removing the worn bits. Mark the condition of the openings, remaining wall, welds and guide strips. Measure diameters in several directions; a single tape reading can miss distortion. Retain photographs of each worn position so that the replacement work does not erase the evidence.
A fixture can repeat an error if it locates from a distorted ring or worn opening. Repair or replace that mounting structure first. Use a workshop setup if the site cannot provide a stable reference plane.
02
Control four dimensions separately
Use the selected roller-bit drawing and the barrel layout together. A preformed leg can simplify positioning, but it does not establish the correct installation on every ring.
| Control | What to check | What it prevents you from missing |
|---|---|---|
| Cutting radius | Inner and outer working points from one verified centre. | A correct steel-ring diameter with an incorrect cutting envelope. |
| Projection | Equivalent cutter points from a defined plane. | A bit that reaches the rock earlier than its intended neighbours. |
| Working angle | The leg’s specified reference faces and the selected layout. | An apparently seated leg installed at the wrong inclination. |
| Sideways orientation | Views across the leg and along the opening. | A twisted bit that passes a simple radius check. |
Compare equivalent points within each intended row. Inner and outer rows may have different design geometry. A matching radius does not establish projection or working angle.
Three references to record before replacing roller bits
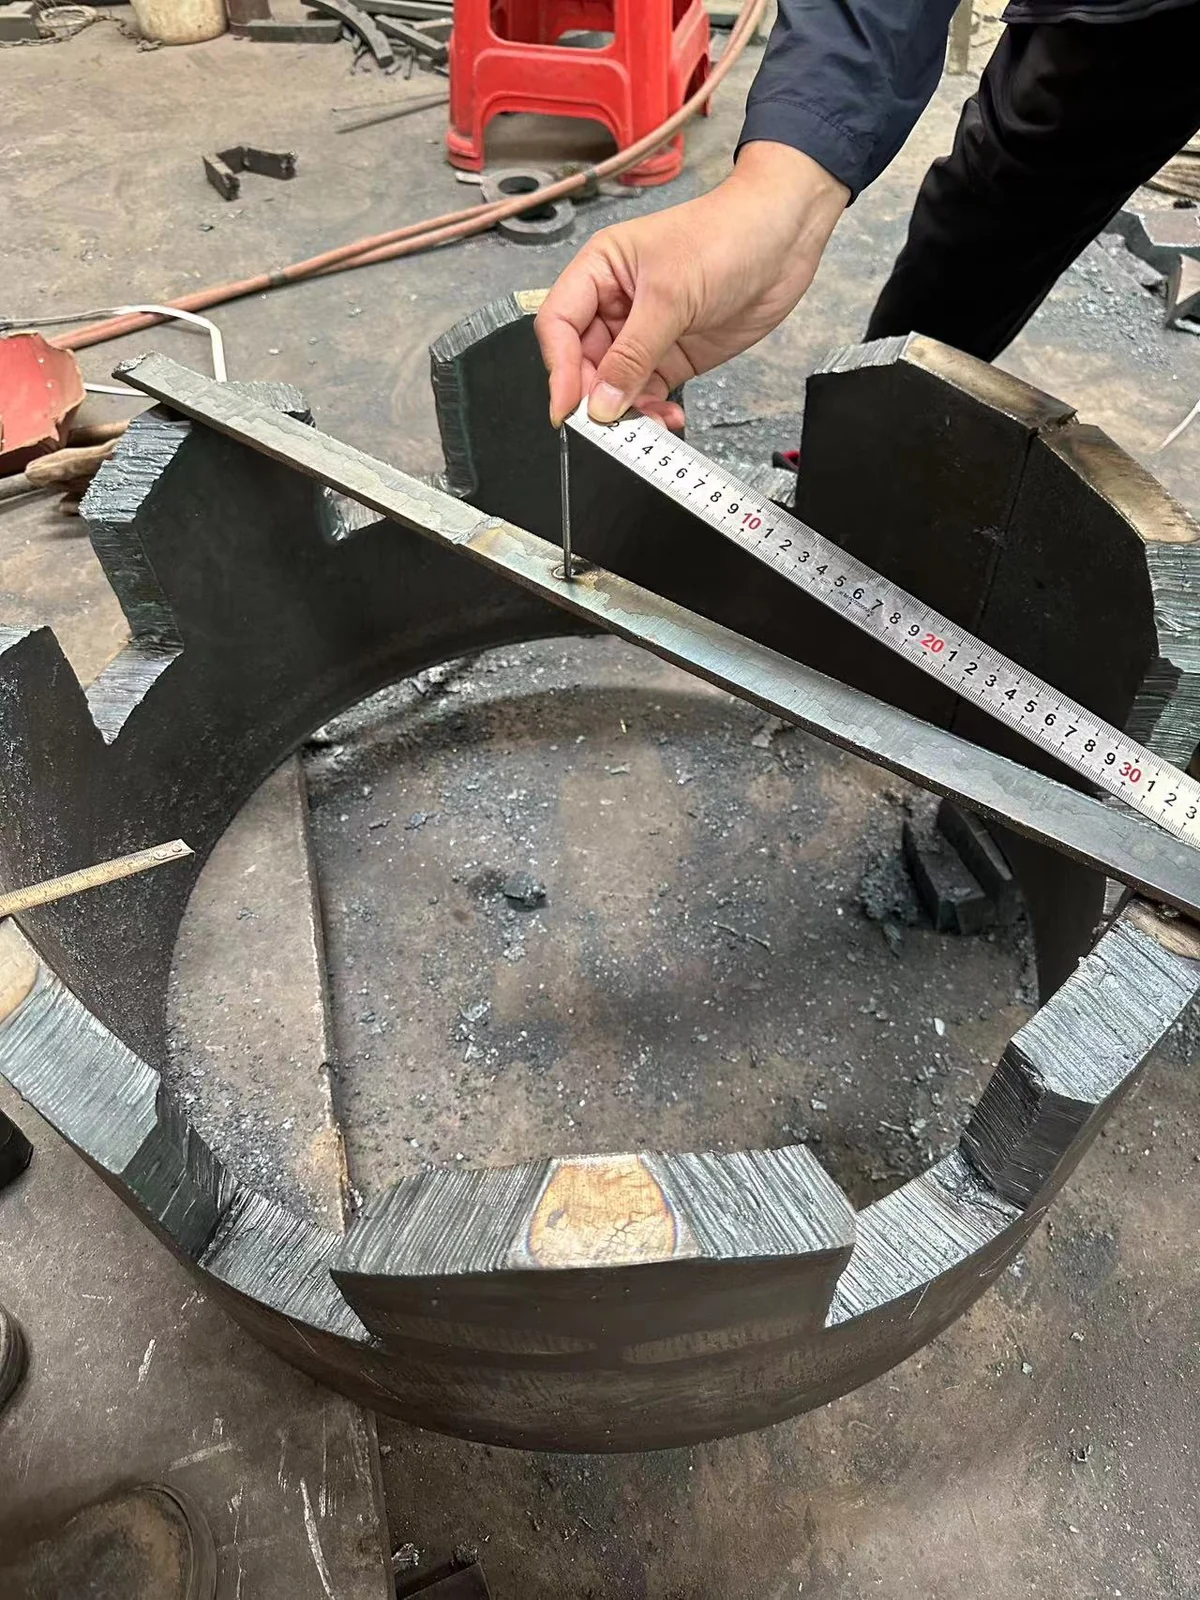
Our fixture notes connect three measurements: the starting face for height, the centre used for radial position, and the fixture’s position against both references.
In the field-replacement procedure in our notes:
- Height reference. Start at the upper connection face and carry the measurement along the barrel towards the installation openings. Mark the fixture-face reference.
- Centre reference. Establish the reference across the barrel opening to check the fixture’s radial position separately.
- Fixture check. At each position, check the fixture against both the height mark and the centre distance. Recheck the centre after any contact or movement before repeating the radial measurements.
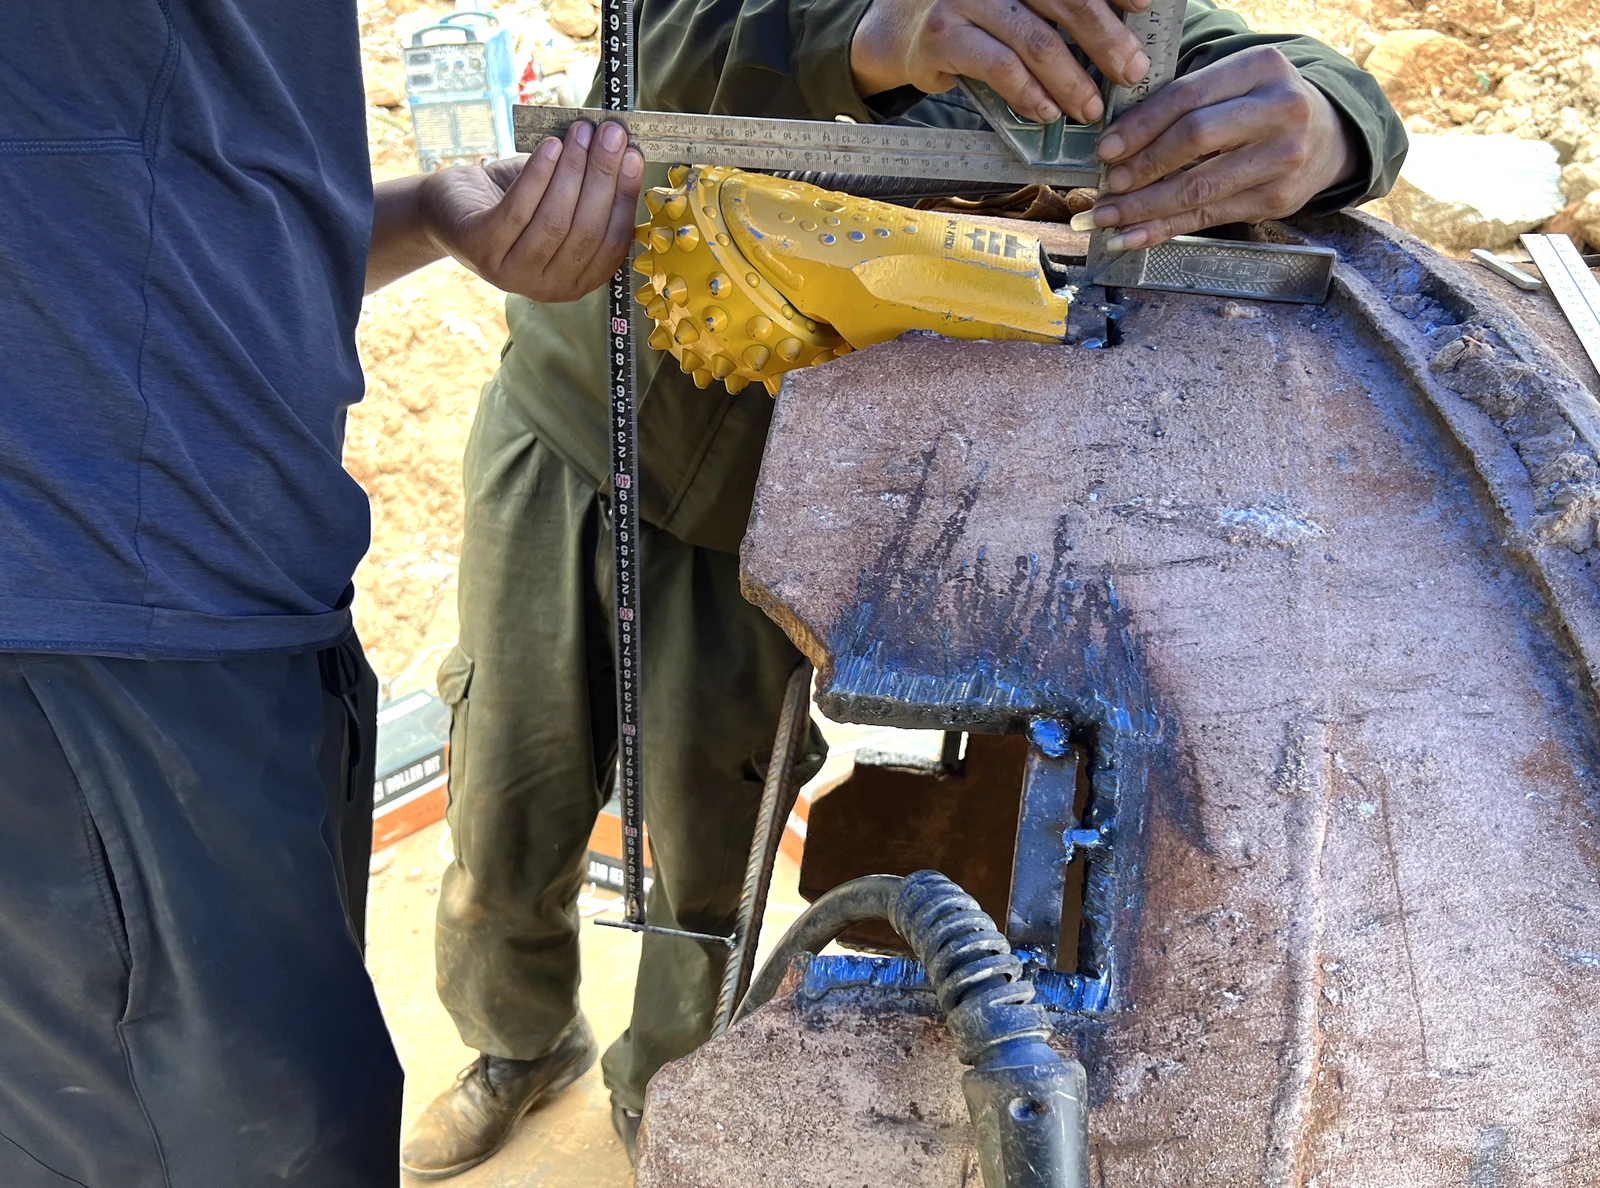
This explains why a complete barrel view is useful alongside a roller-bit close-up. A side view shows where the height measurement starts. A view into the opening shows the centre and the position around the ring. Close-ups with a scale show the installation opening and the points being measured. Keep the same position number with those views.
03
Tack the complete arrangement before welding it out
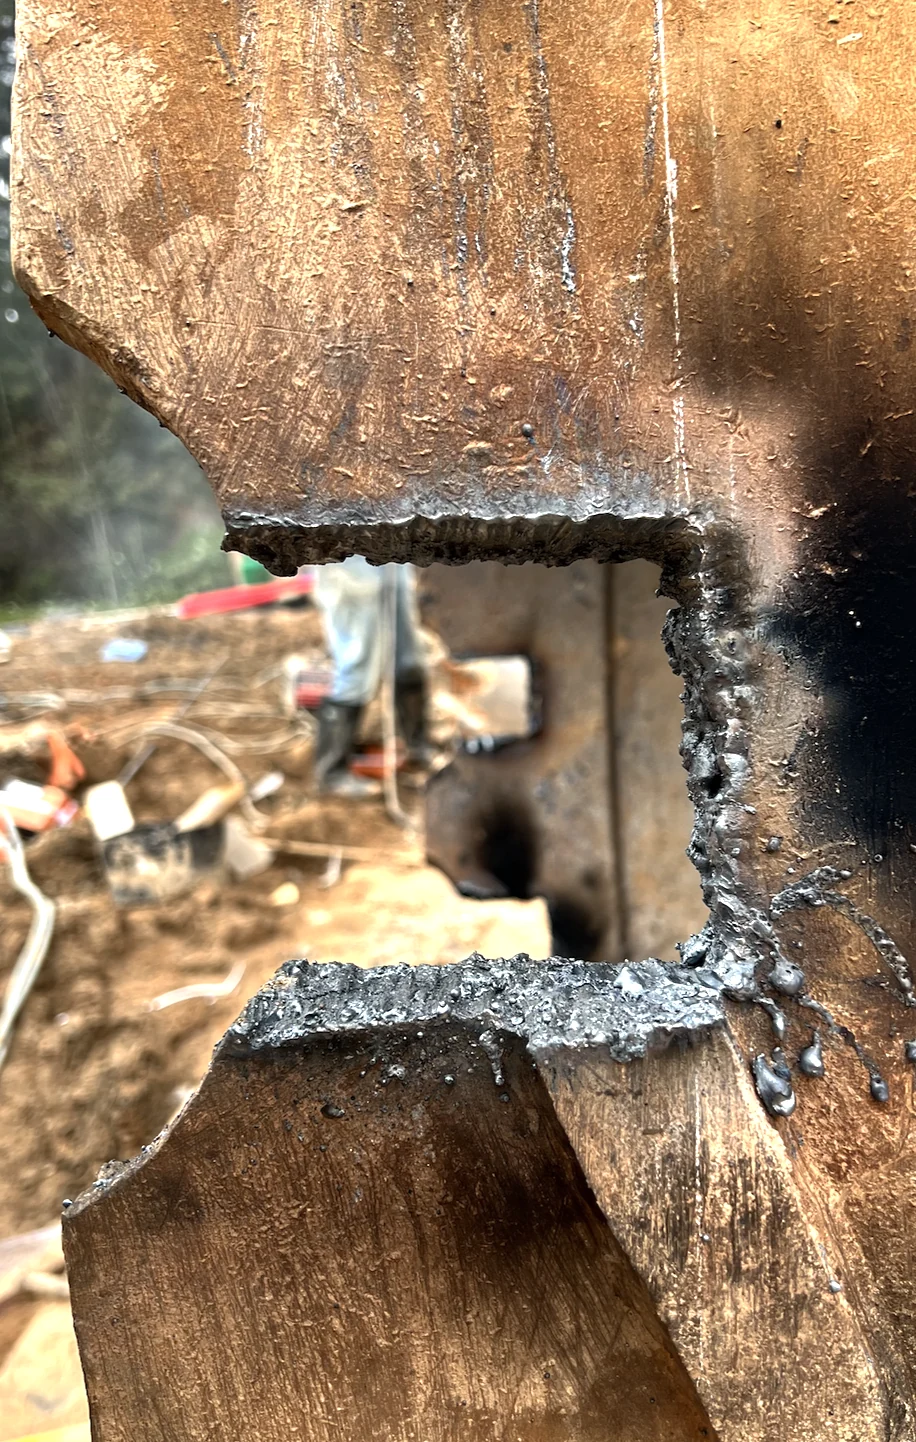
The photographed opening still has slag and uneven cut edges. Clear these before taking the final dimensions: a leg resting on a high spot can move as the weld is built. Compare the sound opening and seating faces with the replacement drawing. An oversized opening needs a suitable ring repair, not simply more weld.
Set the first inner and outer bits from the verified centre and plane, then work around the ring. Check the complete tack-welded set before full welding; do not use a different leg’s old outline as the positioning template.
Use the MH-1 / MH-3 reference face as a cross-check
After tack positioning, compare the complete arrangement. For the MH-1 / MH-3 setup described in the notes, where the barrel wall is not significantly distorted, compare two features at equivalent positions in the same row: the parallel relationship between the designated reference face and the barrel wall, and the exposed height of that face relative to the wall. A difference identifies a position to recheck against the centre, height reference and local wall condition. Use the applicable drawing to define the measurement points and acceptance limits.

Record the accepted positions before moving the barrel for welding, then confirm that the tacks have held them.
04
Protect the assembled bit as well as the weld
The bearing, seal and lubricant are already inside the assembly. Heat reaching them must be controlled while the joint develops the required strength.
Plan balanced, distributed welding around the ring, allowing time between stages. Set the sequence, consumable, temperature limits, measurement points and cooling method for the actual materials and assembled bit before work starts.
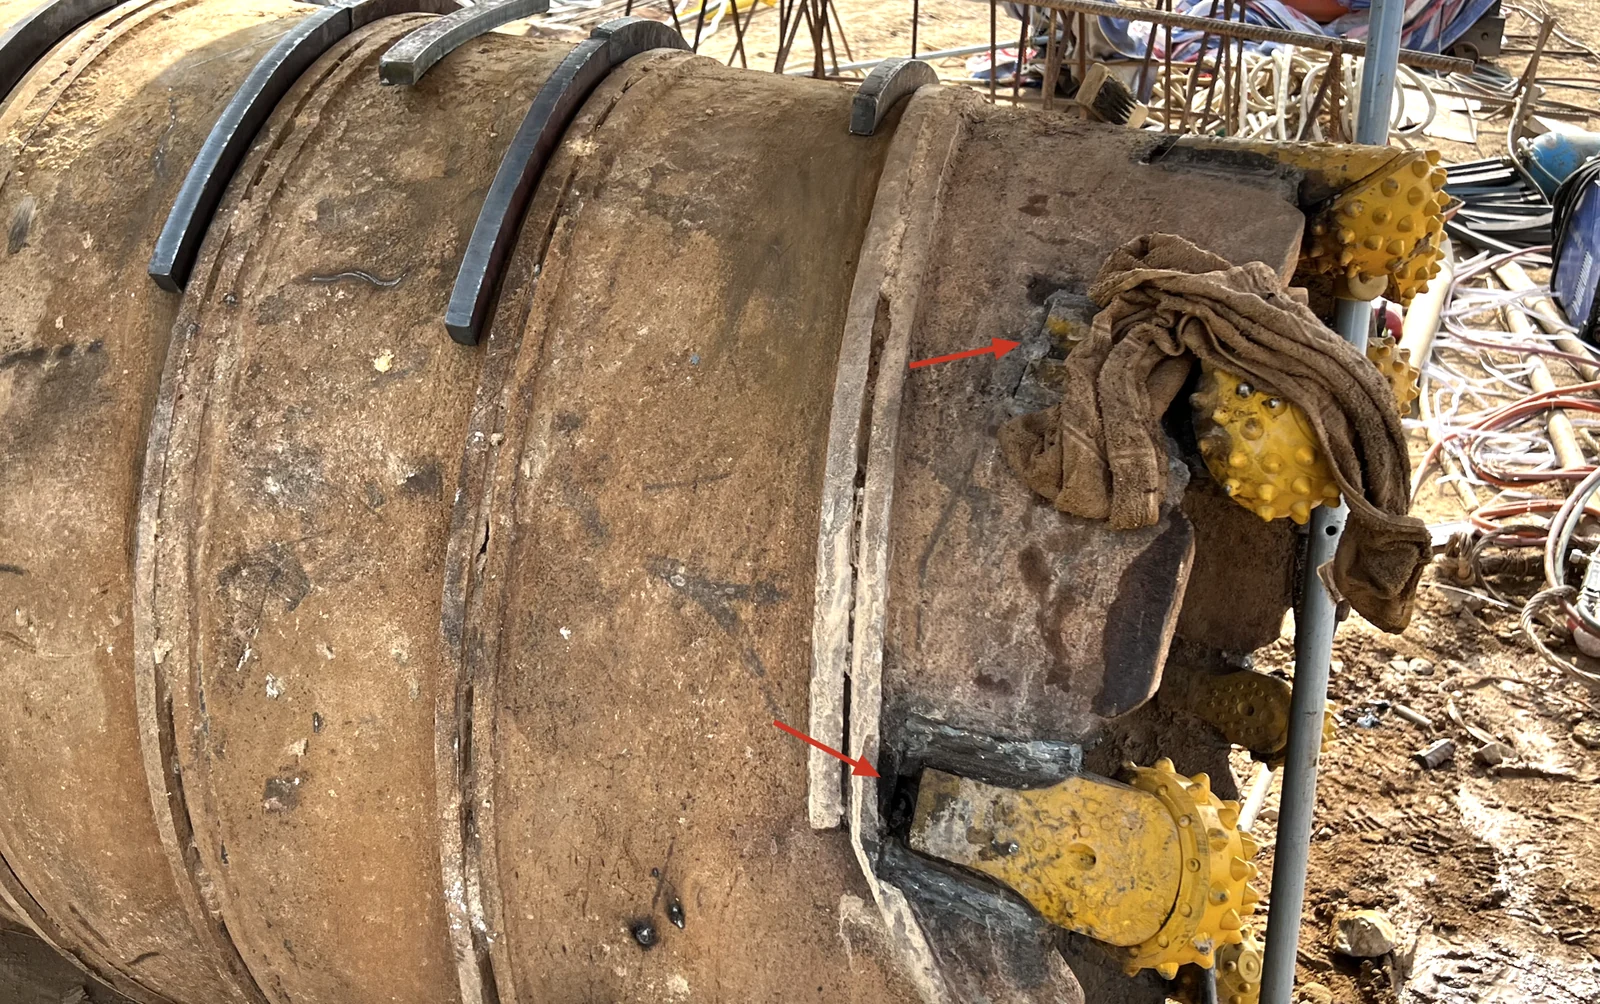
The photo locates the protection but does not specify a welding procedure or temperature limit. Follow the agreed temperature checks and protection method; pause if they cannot be maintained. Do not infer wet-cloth cooling or immersion instructions from the photo.
05
Release the whole cutting assembly
After welding and the specified cooling stage, repeat the geometry checks from the same references. Inspect the completed joints to the agreed welding acceptance requirements and check the roller bits for abnormal turning resistance, looseness or visible damage. A free-turning cone alone does not verify the internal condition of a heated assembly.
Hold the barrel out of service if a joint is suspect, a position falls outside its drawing limits, or a bit’s condition has changed during installation. Resolve the finding rather than adjusting the operating settings to compensate for an installation fault.